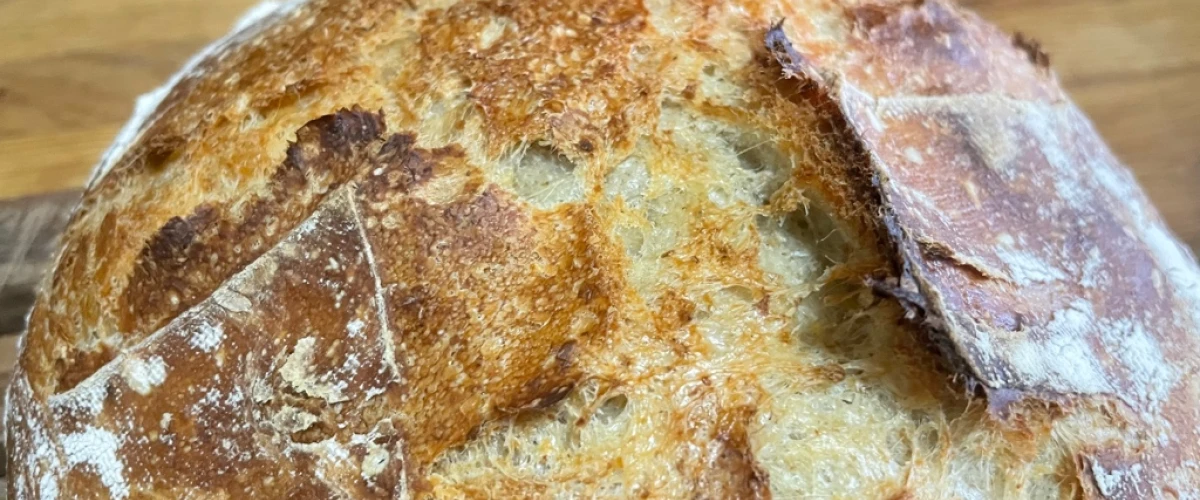
My bread
Many books have been written on how to make bread. It's quite possible that there's something for everyone with this or that author. This was the case for me with Flour Water Salt Yeast by Ken Forkish. It's easy to see from this book that the operation is simple, and can be reproduced at will.
Below is a variation inspired by the original Forkish recipe.
Ingredients
800g white flour (preferably bread flour)
150g whole-wheat flour (200g if you omit the rye flour)
50g rye flour (optional)
800g (800ml is the same) water
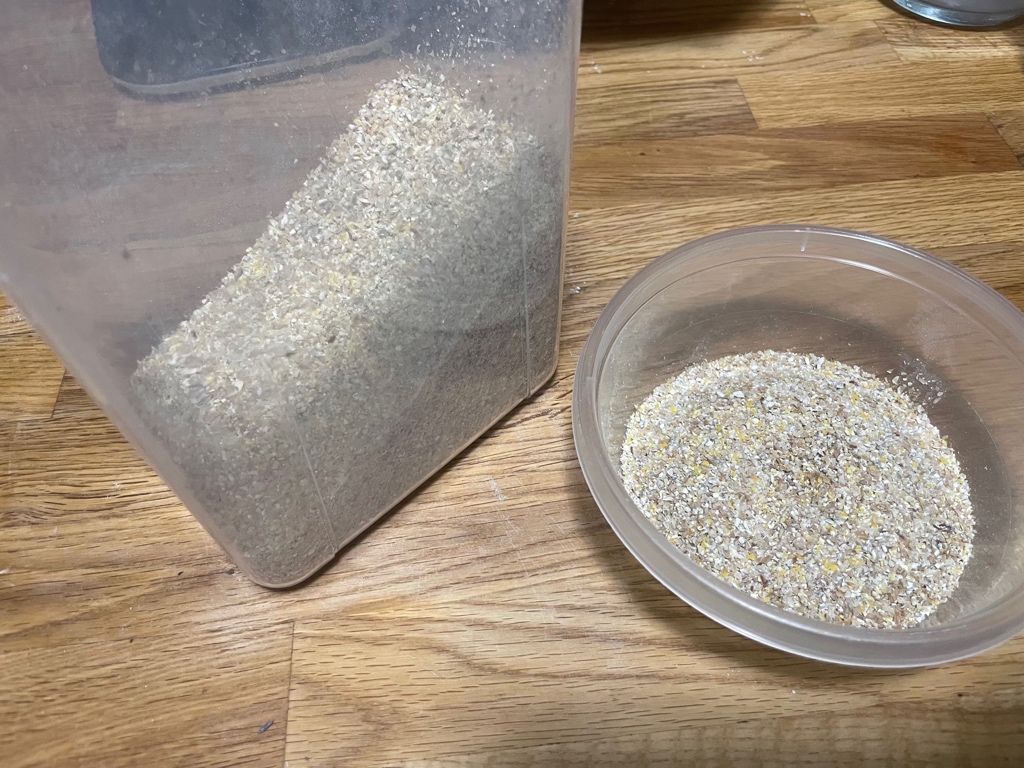
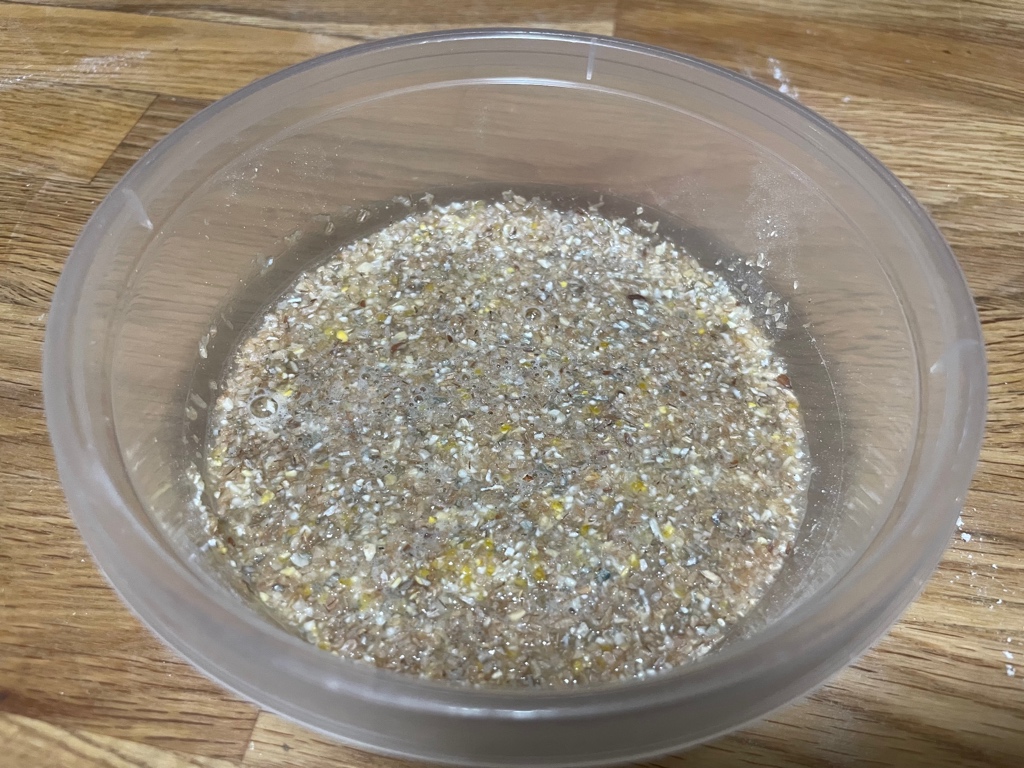
Optional: 1 cup ground grains soaked in a little water
20g salt
3/4 tsp. instant yeast
It's very important to weigh your ingredients. With experience, it will be possible to adjust them. For example, on hot summer days, you risk using less yeast and shortening the rise. Your first guarantee of success will be a weighing scale. You could also use 100% white flour. Reduce the amount of water to 720g. In other words, whole-wheat bread requires more water.
Instructions
Around 5 p.m., mix the flours in a large bowl.
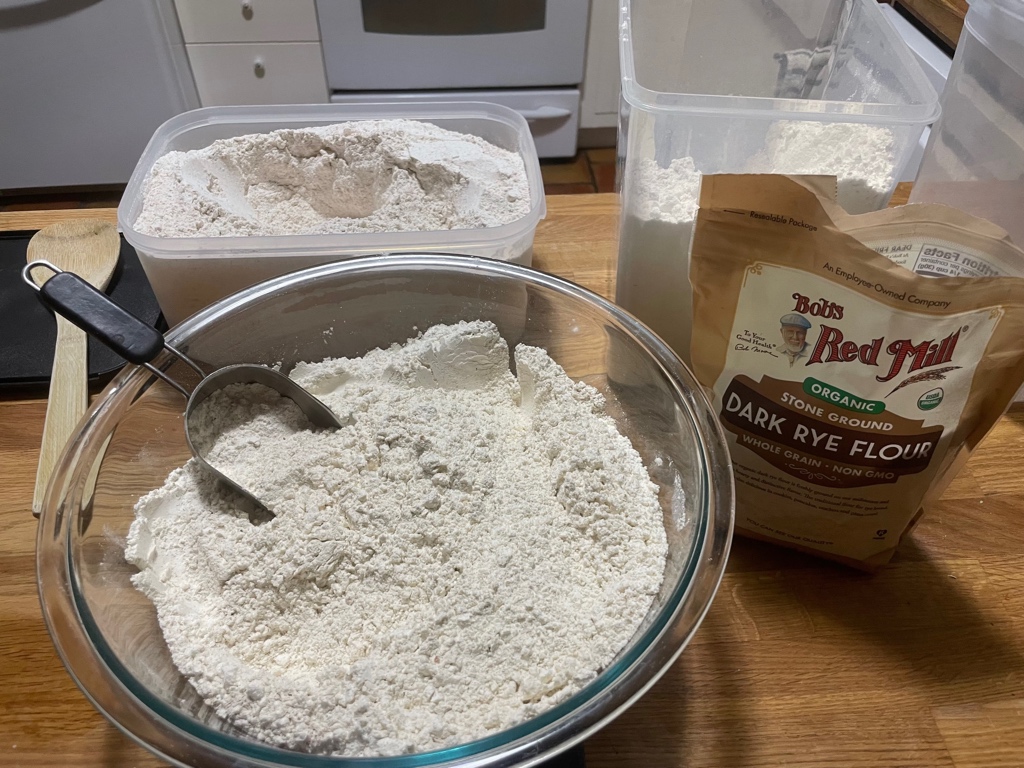
Make a well for the water, which you'll have microwaved for a minute to bring to room temperature (not necessary in summer).
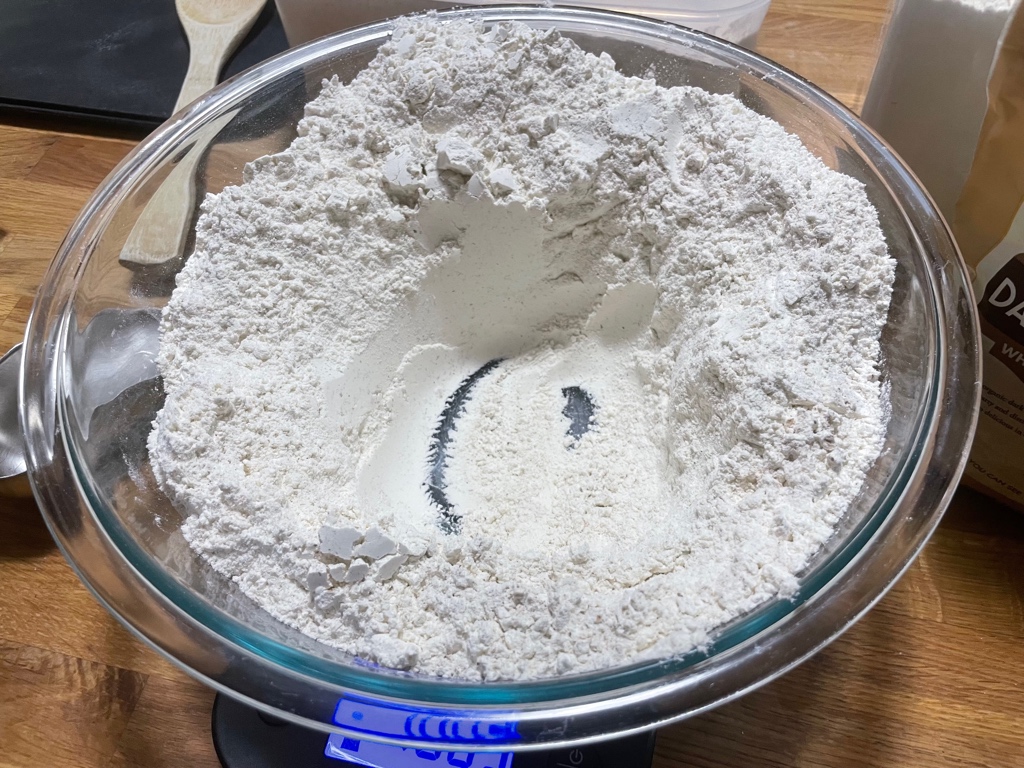
Putting the water in a well allows you to mix gradually with a spoon or spatula, which will make a more homogeneous dough while promoting gluten production.
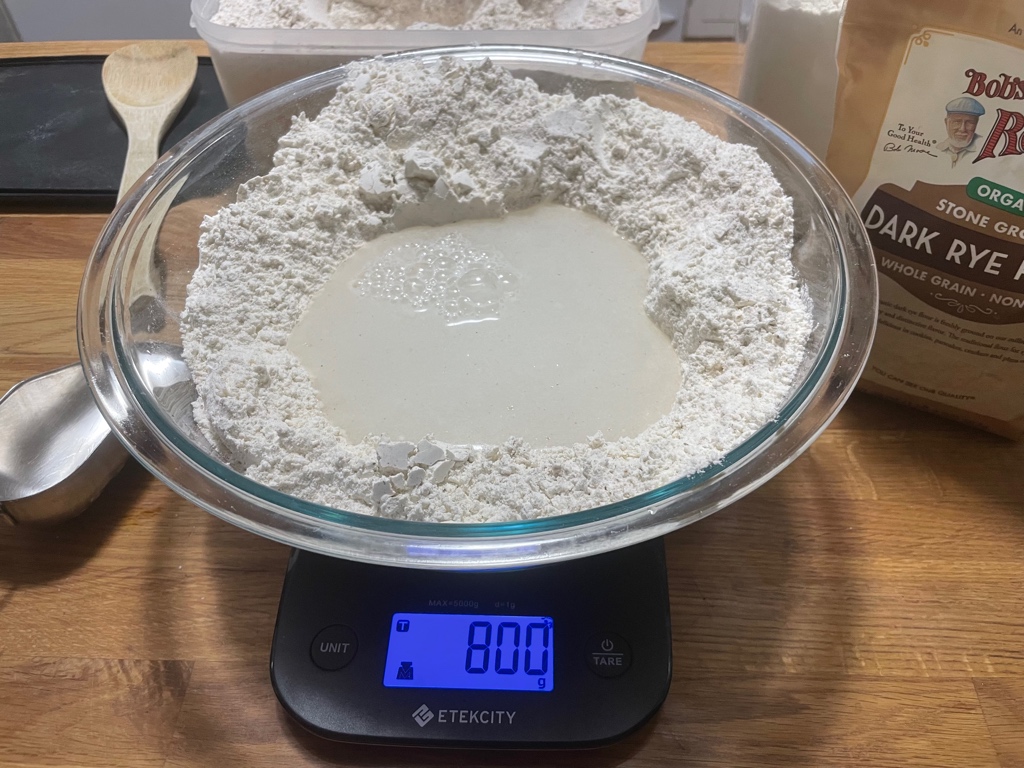
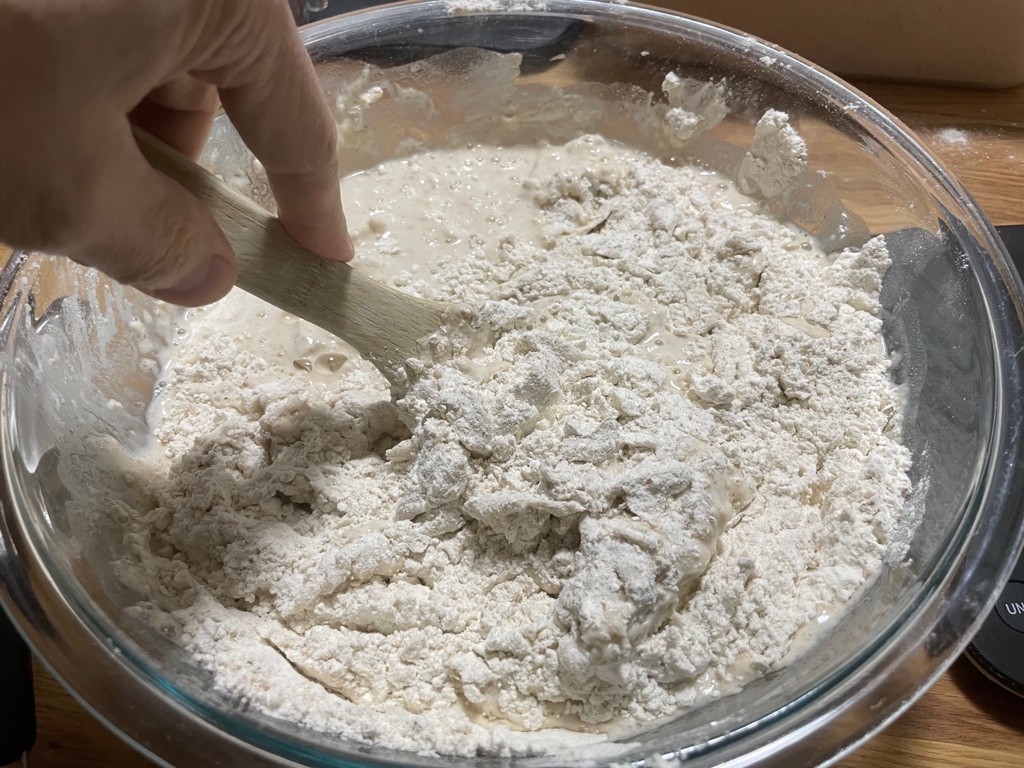
The spoon should stand on its own. The operation takes about one or two minutes. There's no need to rush, the important thing is that the flour is completely moistened.
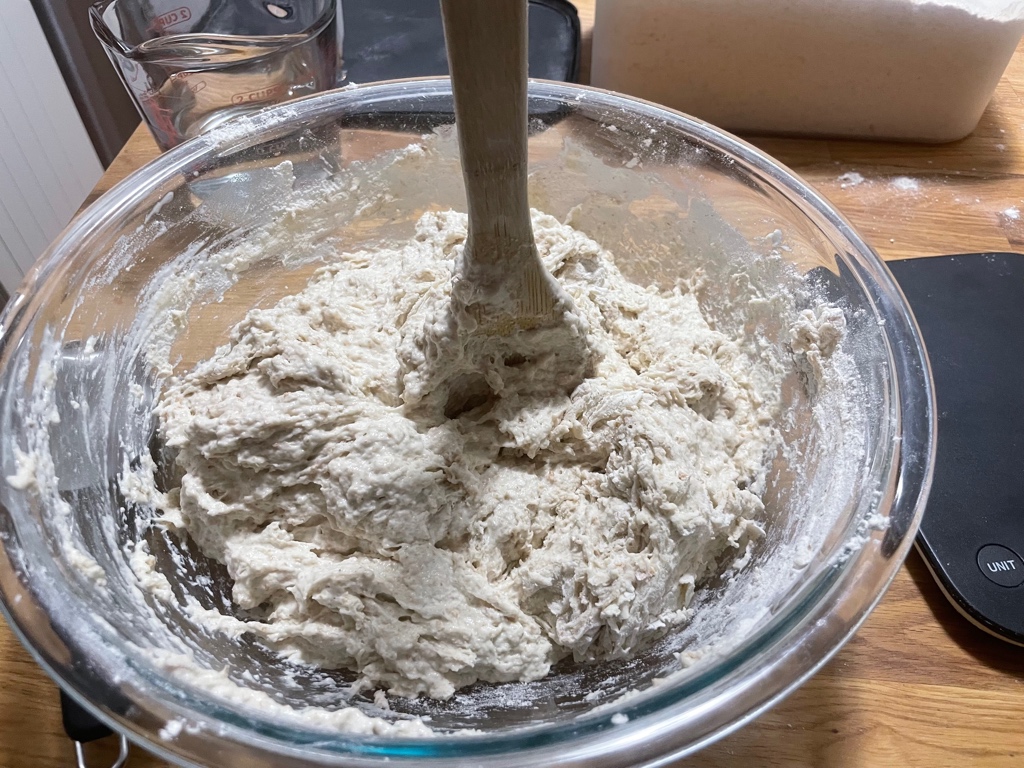
Cover and leave to stand for 20 to 30 minutes. You haven't added the yeast and salt yet. Please note!
This stage is crucial. It's autolysis, the period during which gluten forms. At the end, you'll notice that the dough is relaxed and easy to handle. Leave it to nature!
In the meantime, dampen the crushed grain mixture with just enough water to make it moist.
If you haven't already done so, measure your salt.
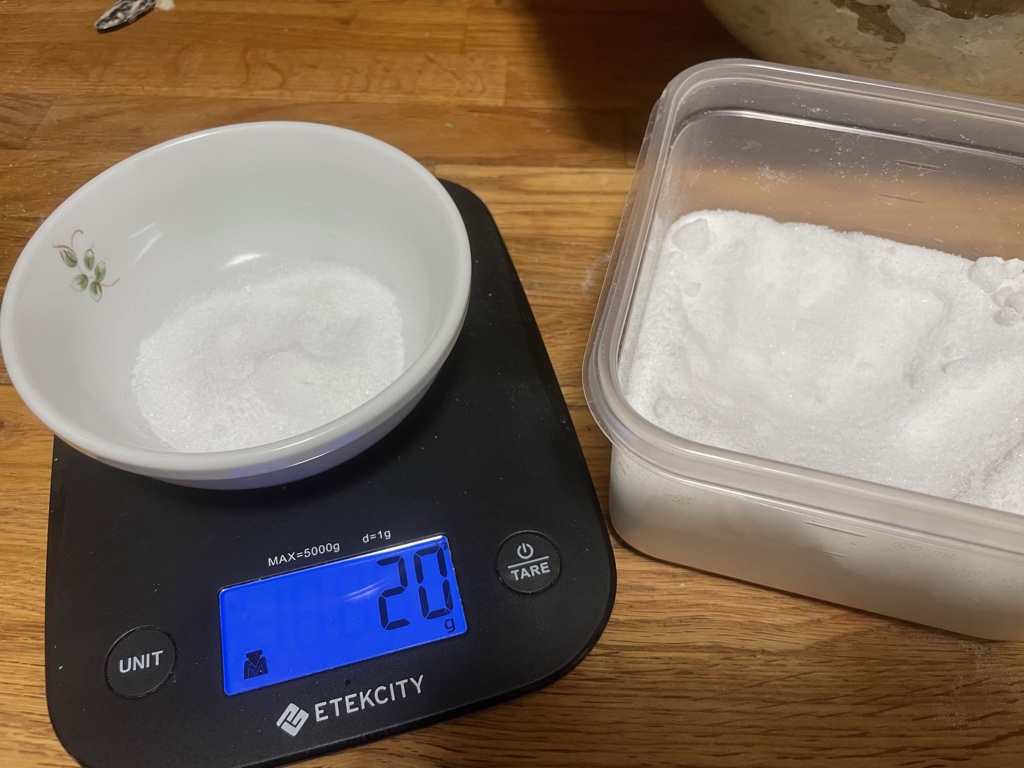
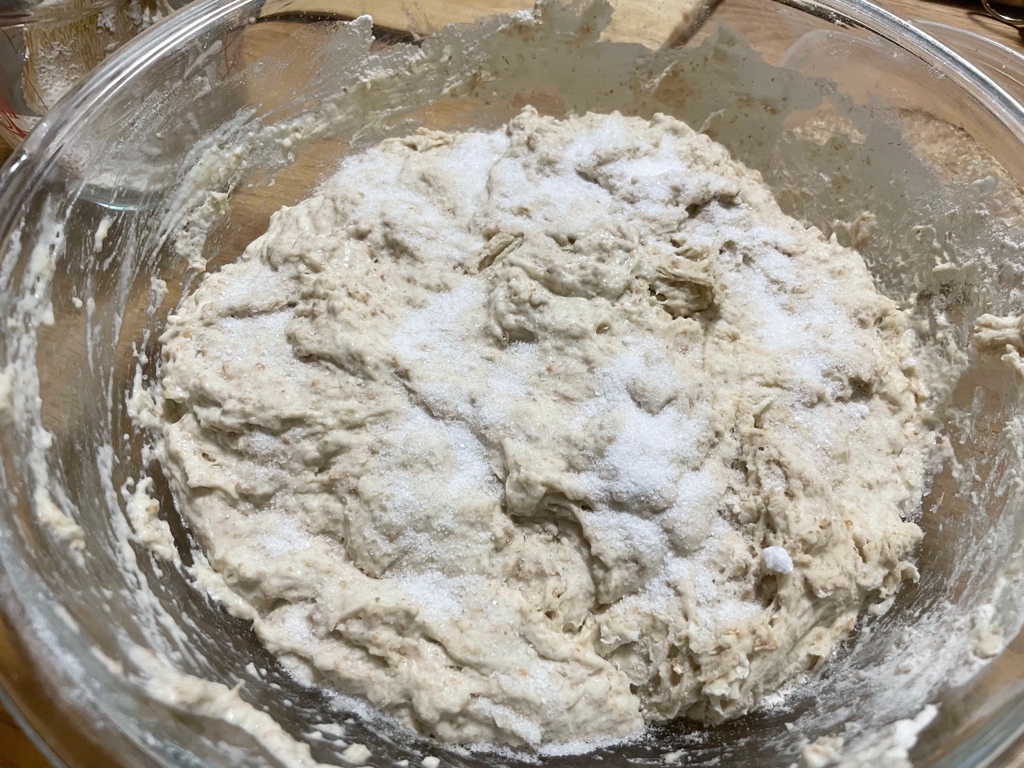
Thirty minutes later, sprinkle with salt and fold the dough. Avoid bringing salt and yeast into contact.
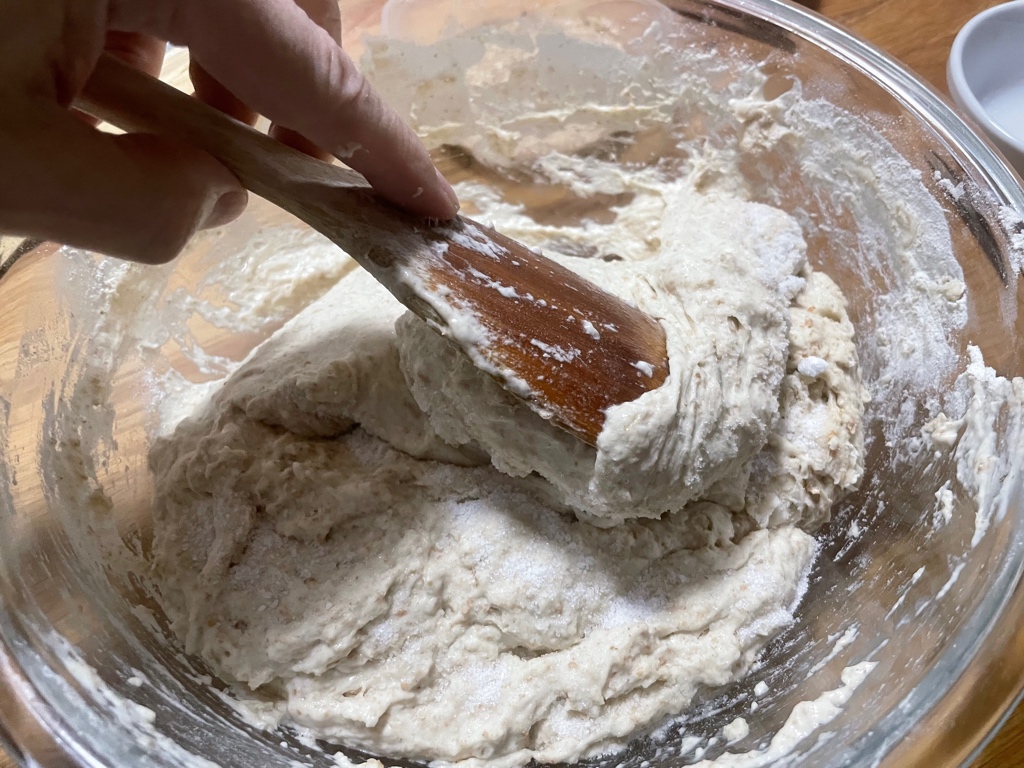
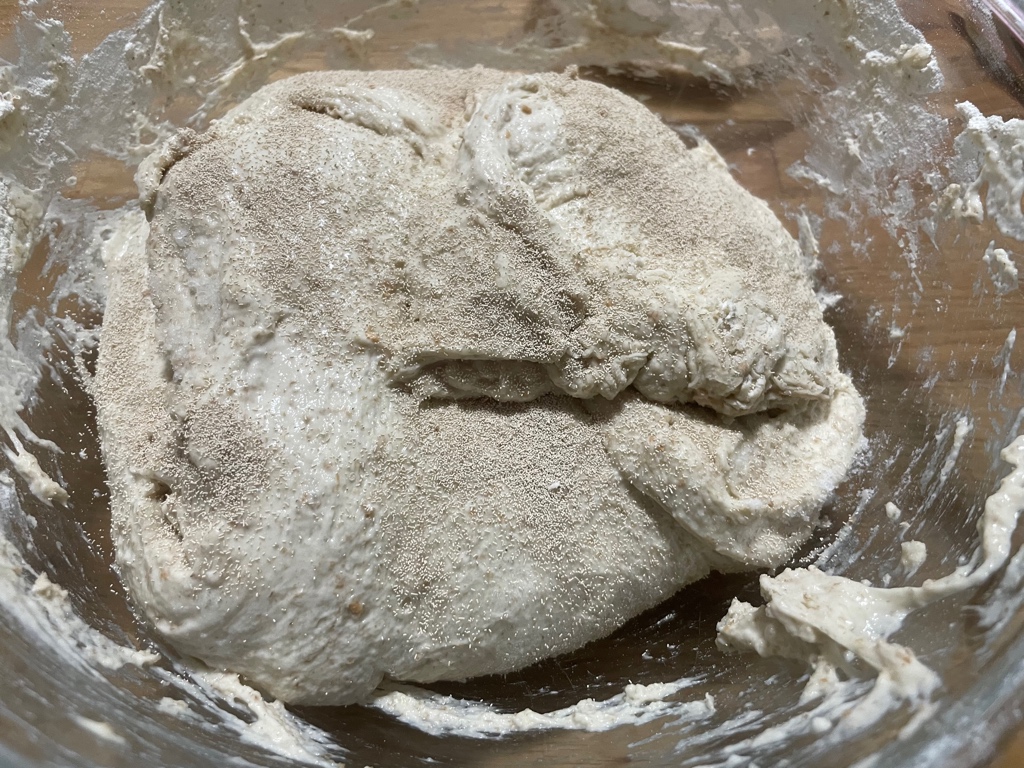
Sprinkle with instant yeast. And fold once before handling with your hands. You don't want your hands to smell of yeast...
In the next step, you can dip your fingers in water to prevent them sticking to the dough. In principle, you can dip your fingers three times. Don't add too much water!
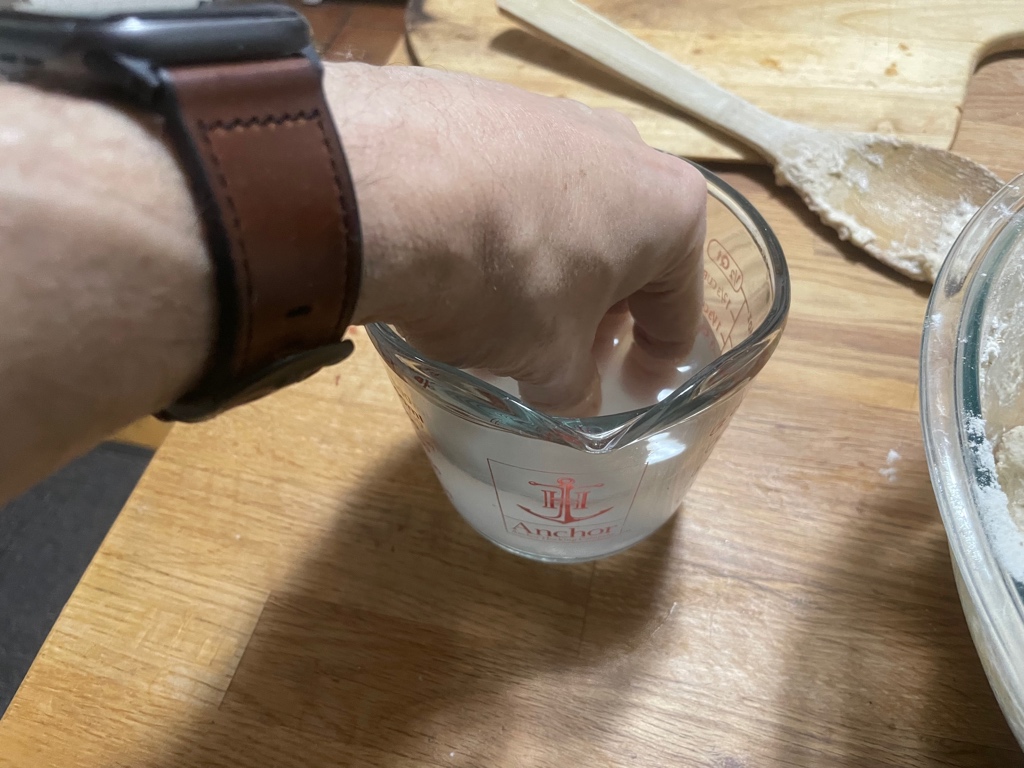
Start manipulating, folding and turning the dough. There's no need to rush, force or exhaust yourself. Making bread is not a gymnastics session! The operation should take about three minutes. You need to feel that the dough is well mixed, that there's no dry flour left.
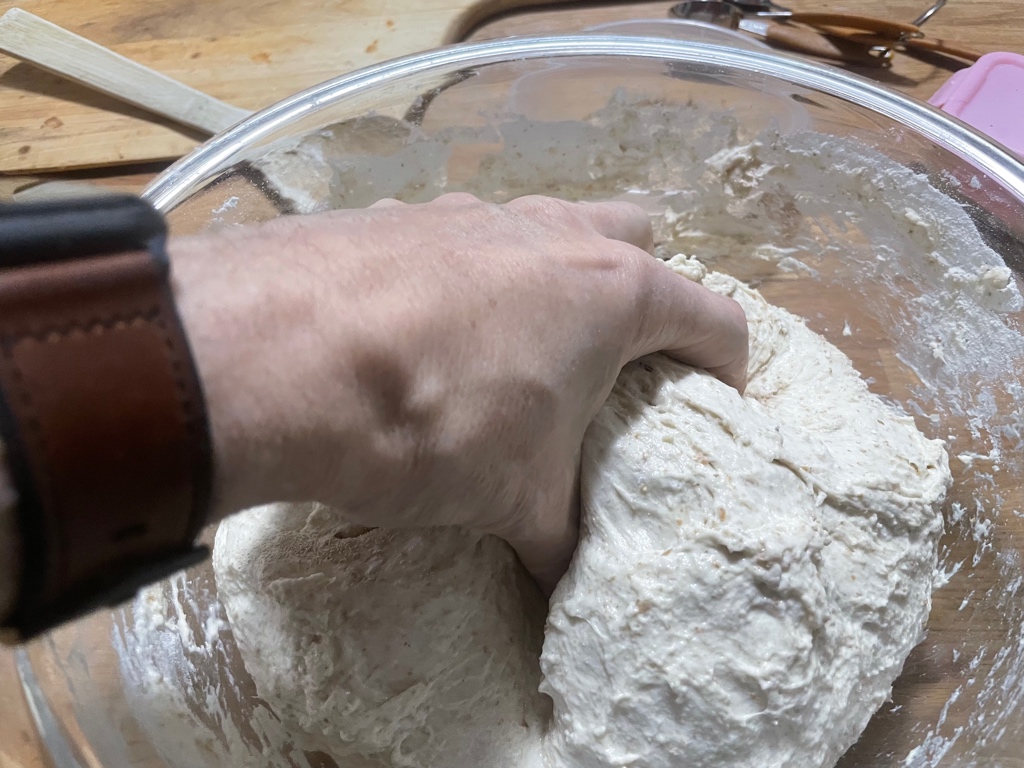
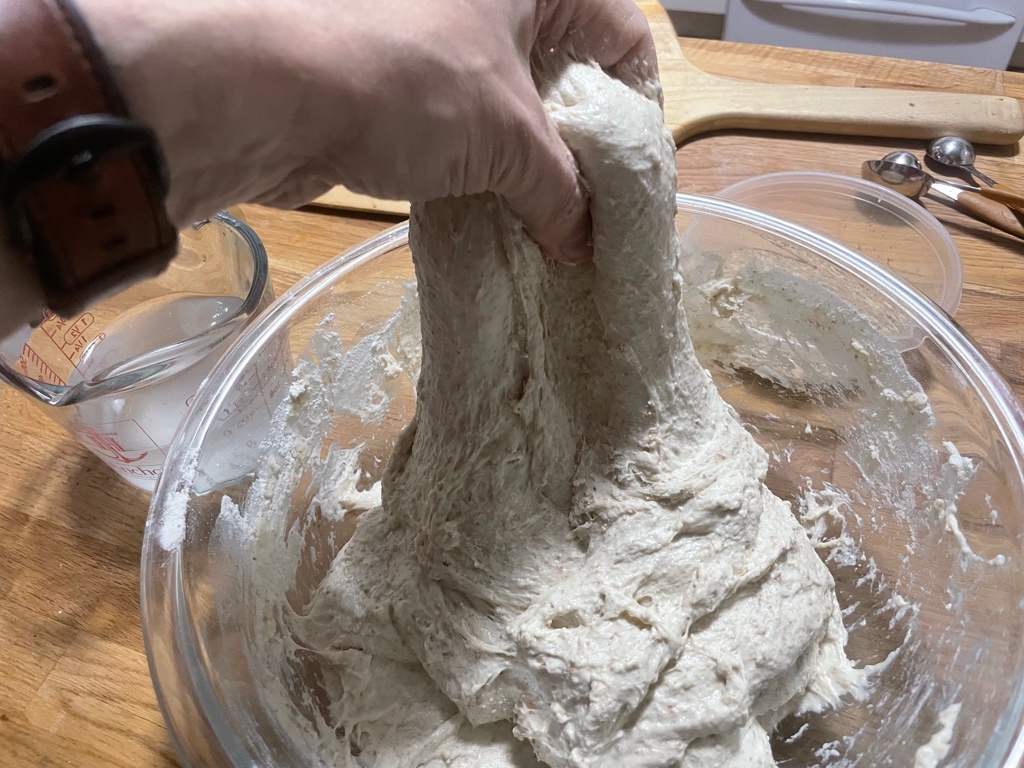
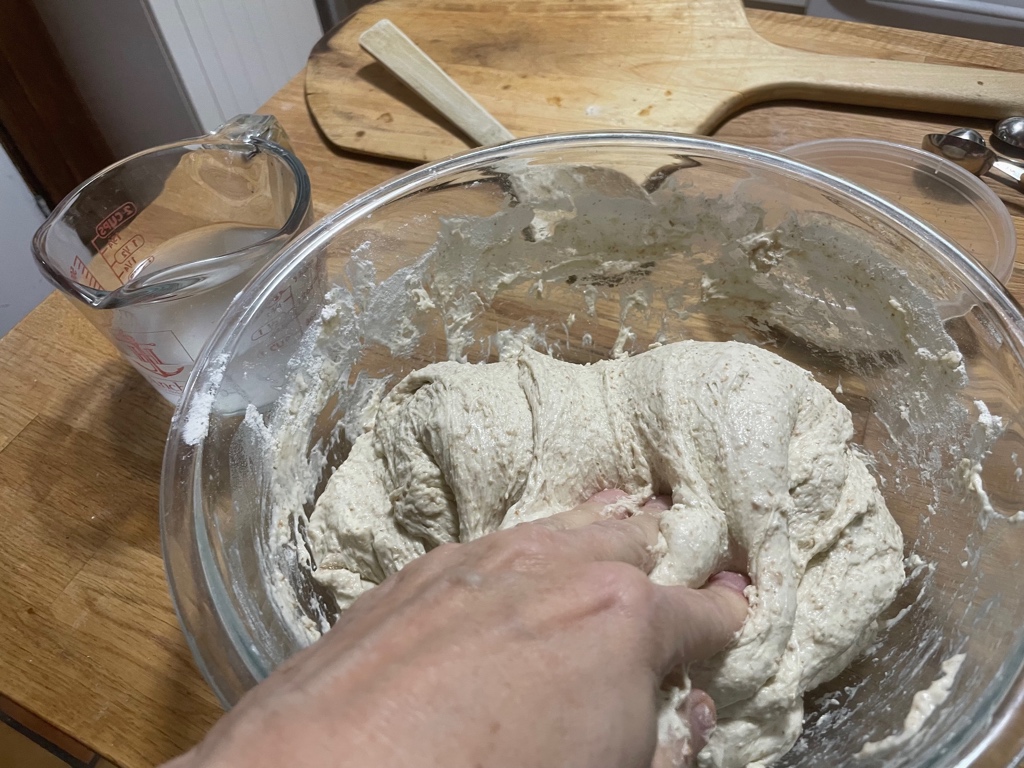
Add crushed grains if desired. Repeat kneading until you feel everything is well blended (no more than three minutes).
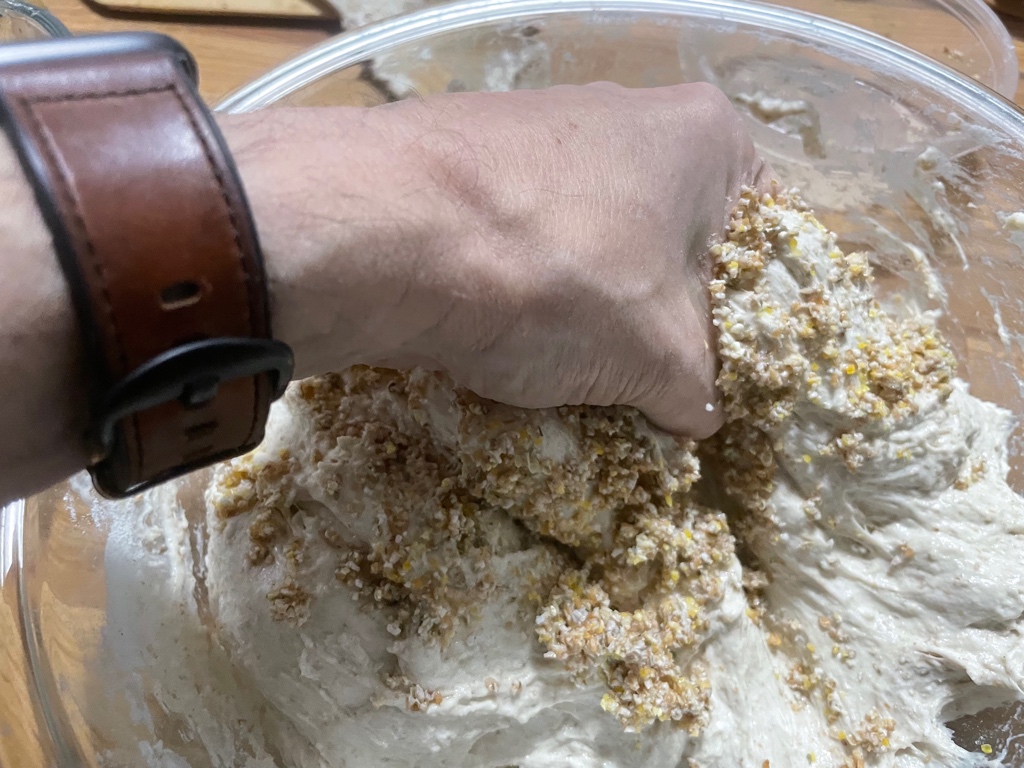
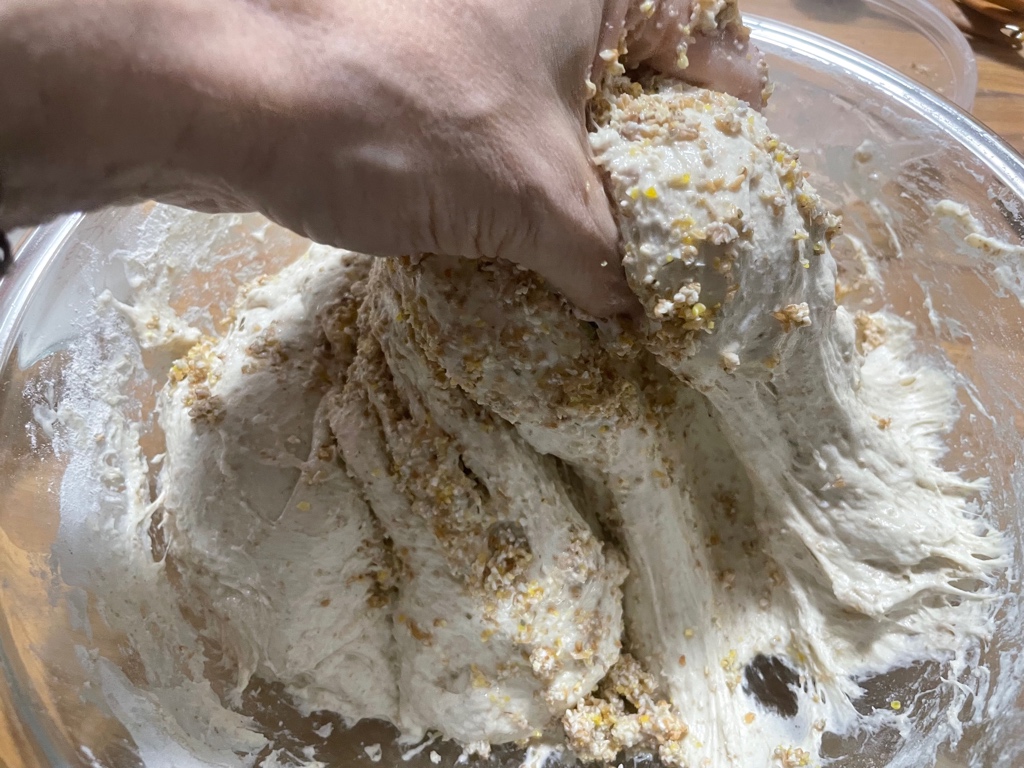
At the very end, pinch the dough in several places for 30 seconds to make sure you've mixed in the salt and yeast (don't stress, it's definitely mixed in!).
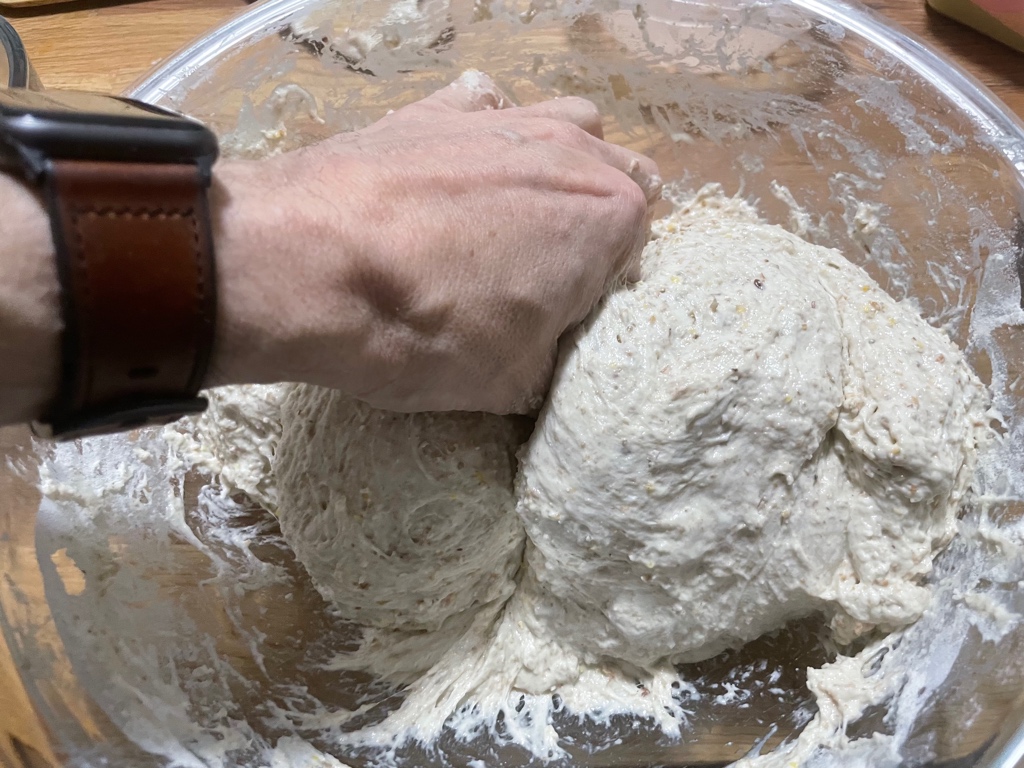
The dough is mixed! All that's left is to let it rest for the first 30 minutes.
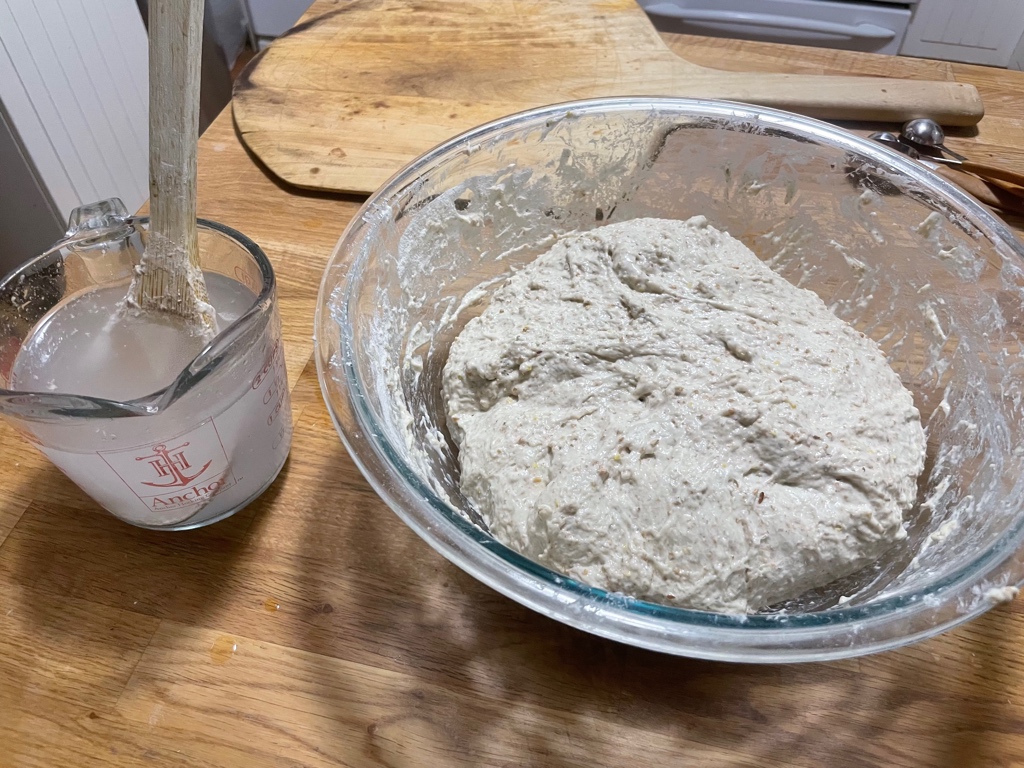
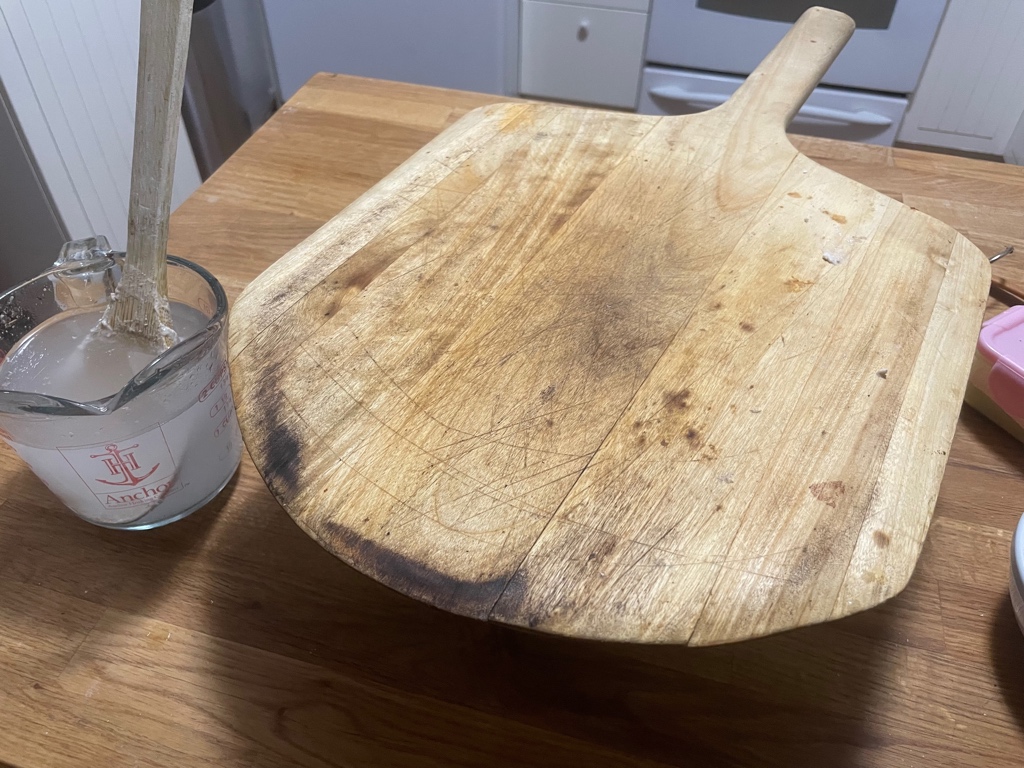
After 30 minutes, stretch the dough four times, turning a quarter turn each time. This operation develops the structure of the bread.
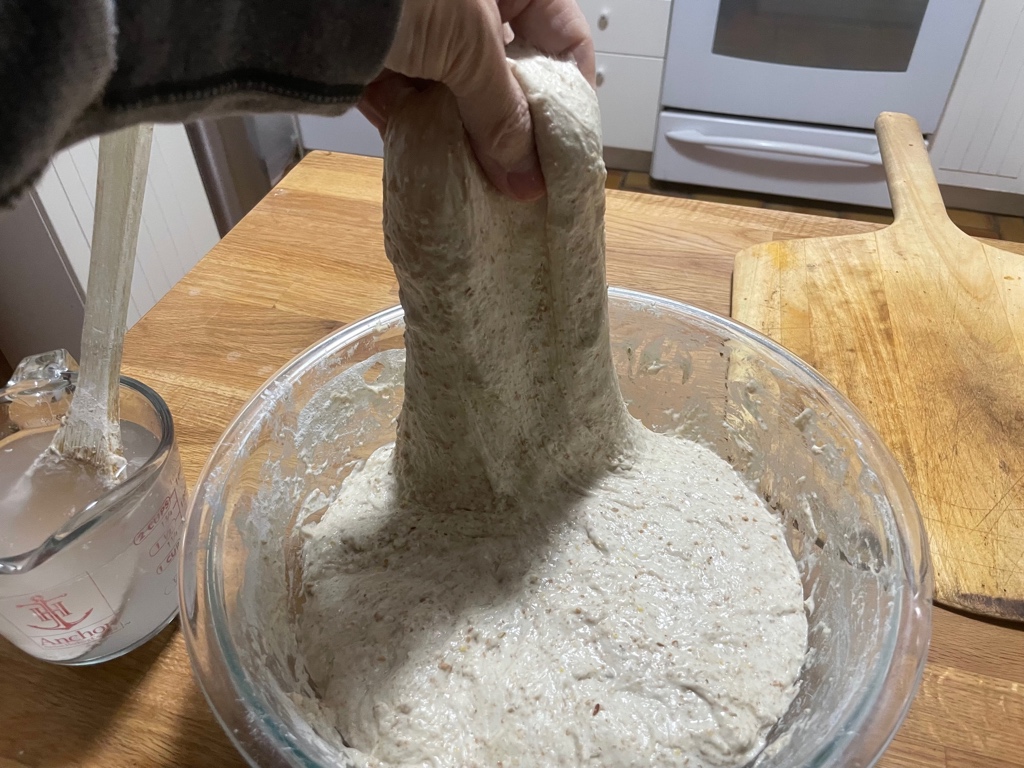
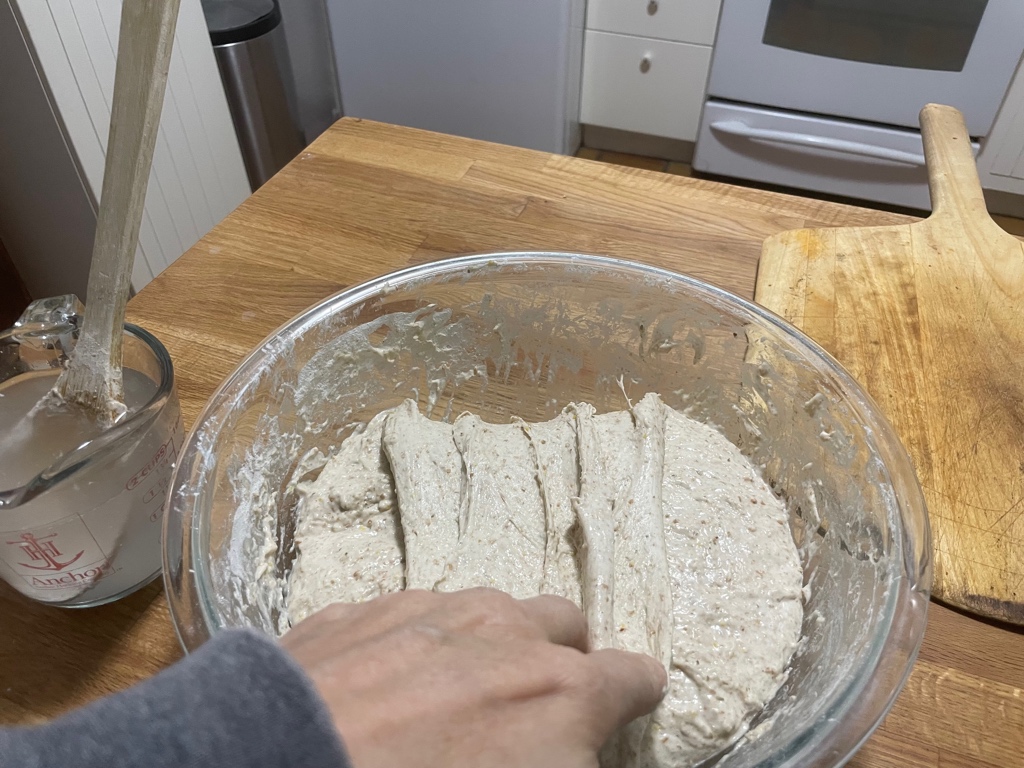
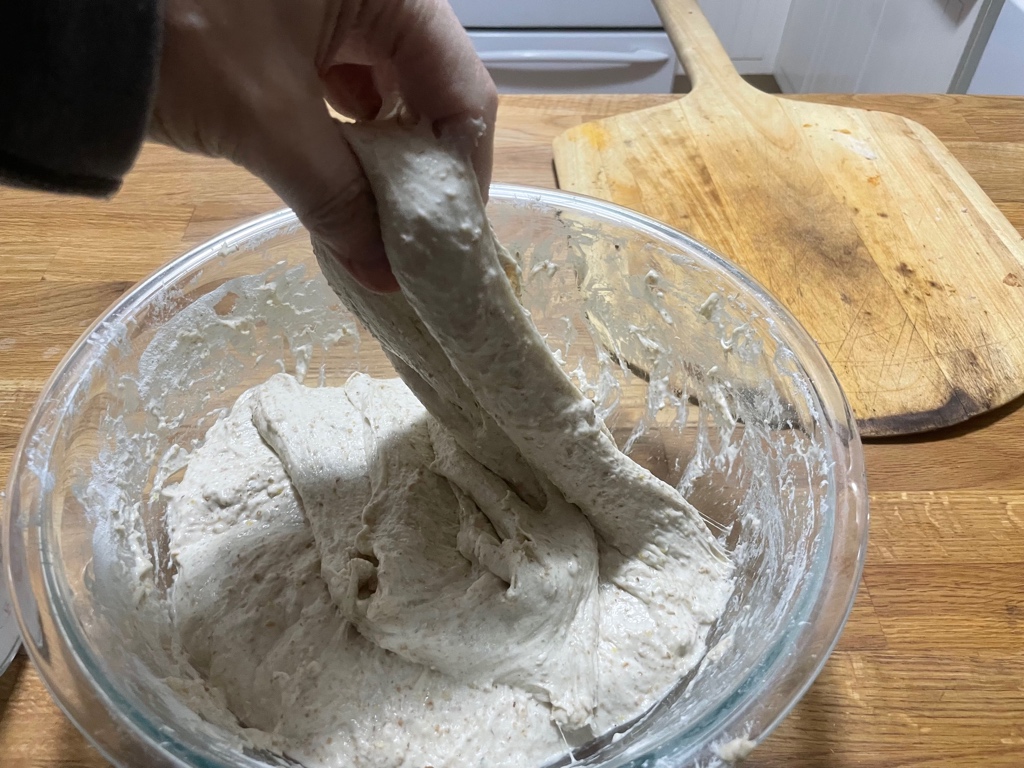
You can use a spoon to stretch the dough.
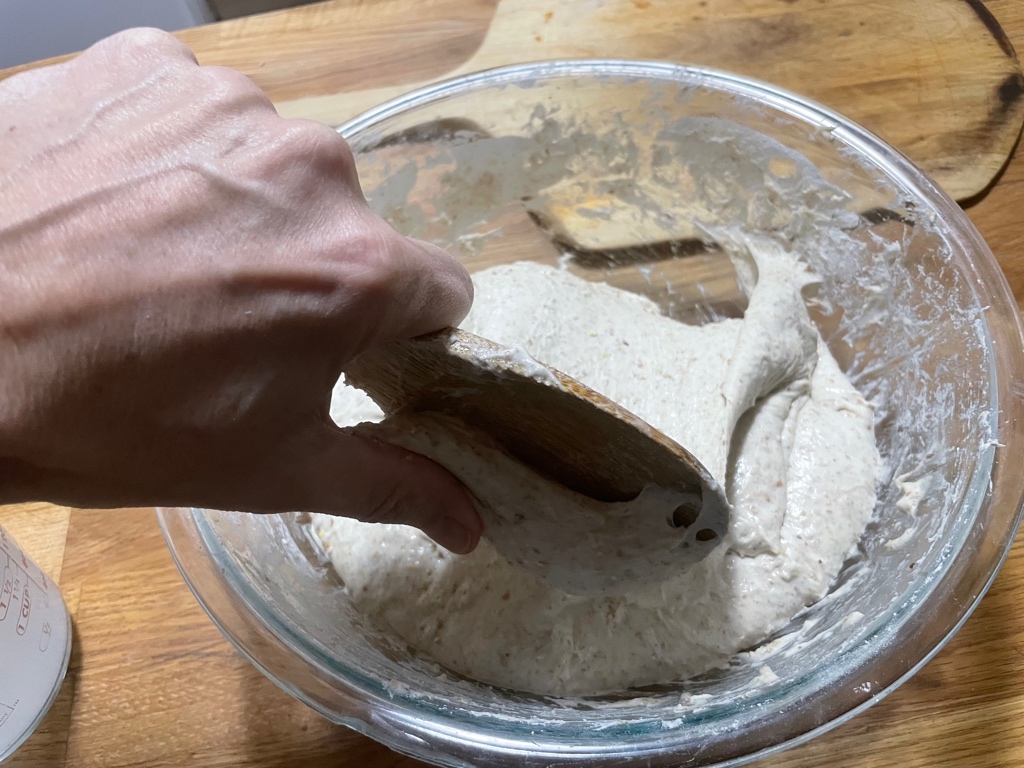
Leave to rest for a further 30 minutes. Fold again. Repeat this operation a third and final time 30 minutes later. Each time, you'll feel the dough firm up and develop a nice structure.
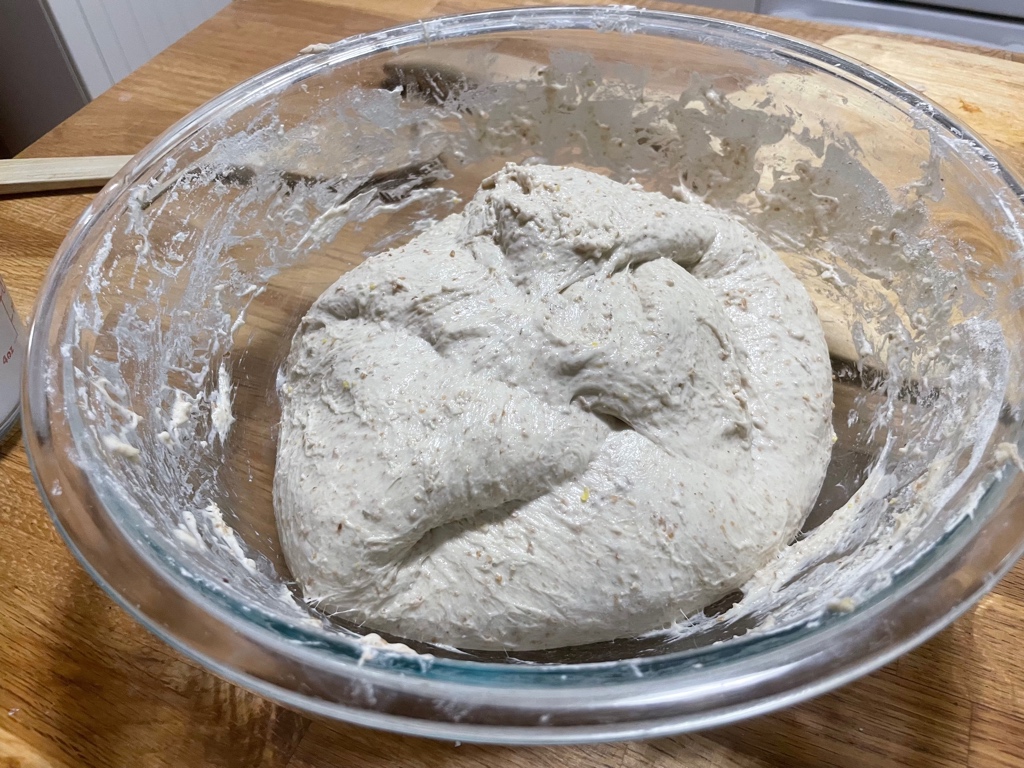
Leave to stand, covered, all evening without intervening.
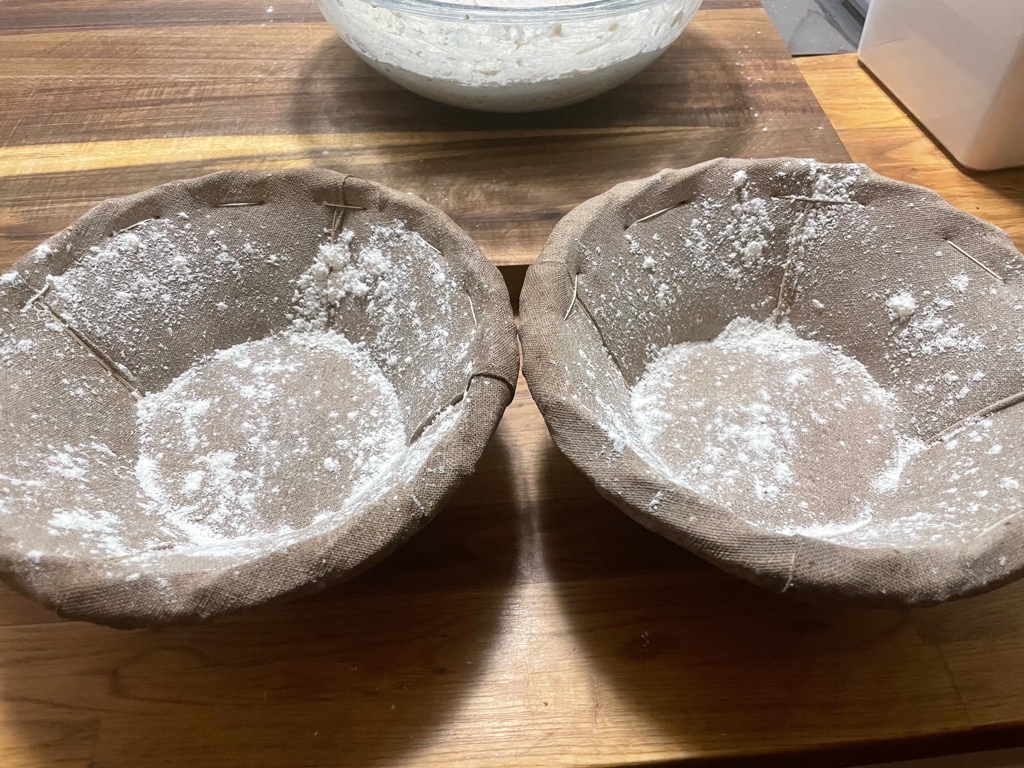
Around 10pm (or later), flour two bannets. Also flour your workspace.
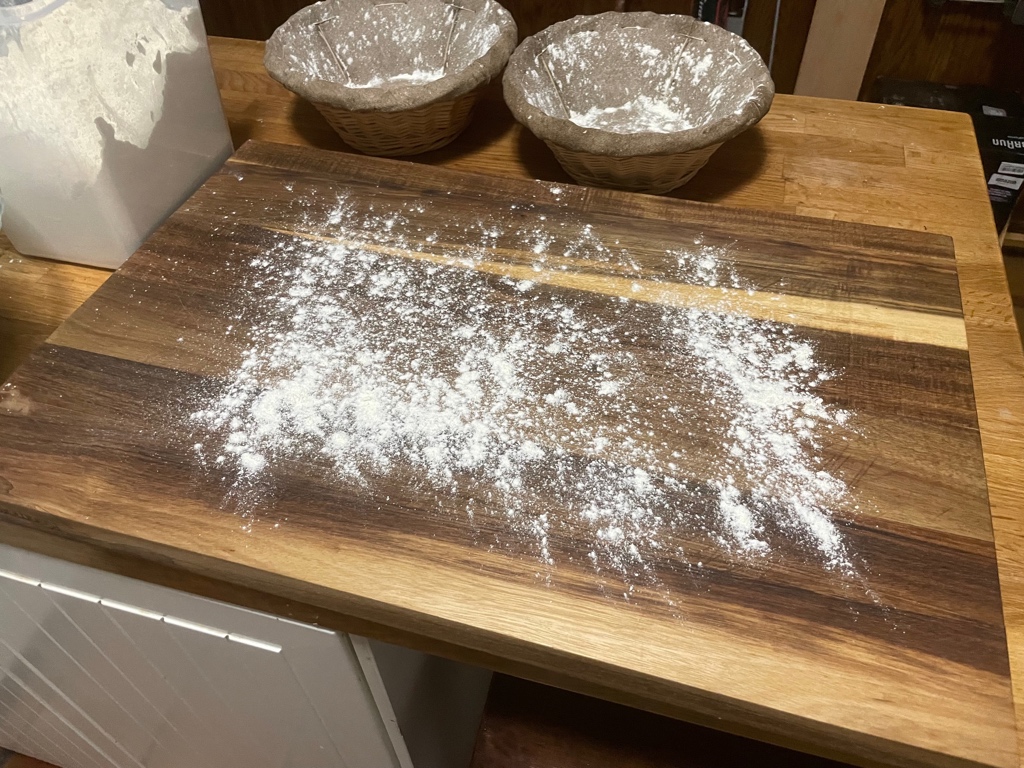
Gently turn the dough out onto the board. Use your free hand to push the dough out of the bowl. Do not tear the dough.
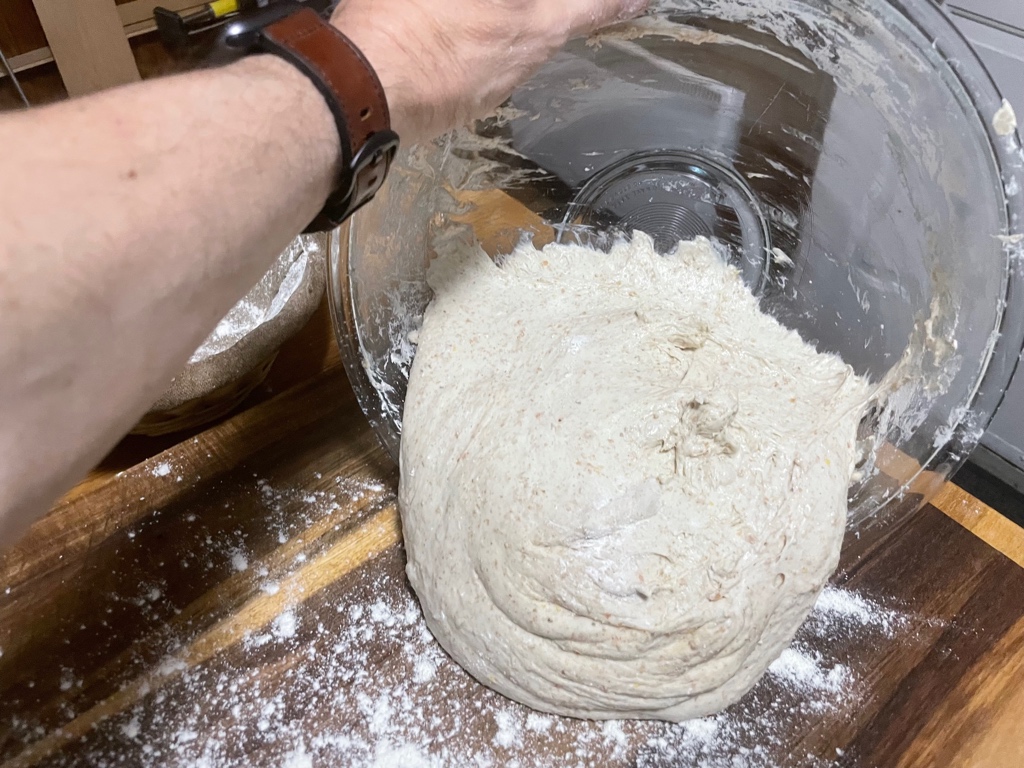
The dough could be quite soft.
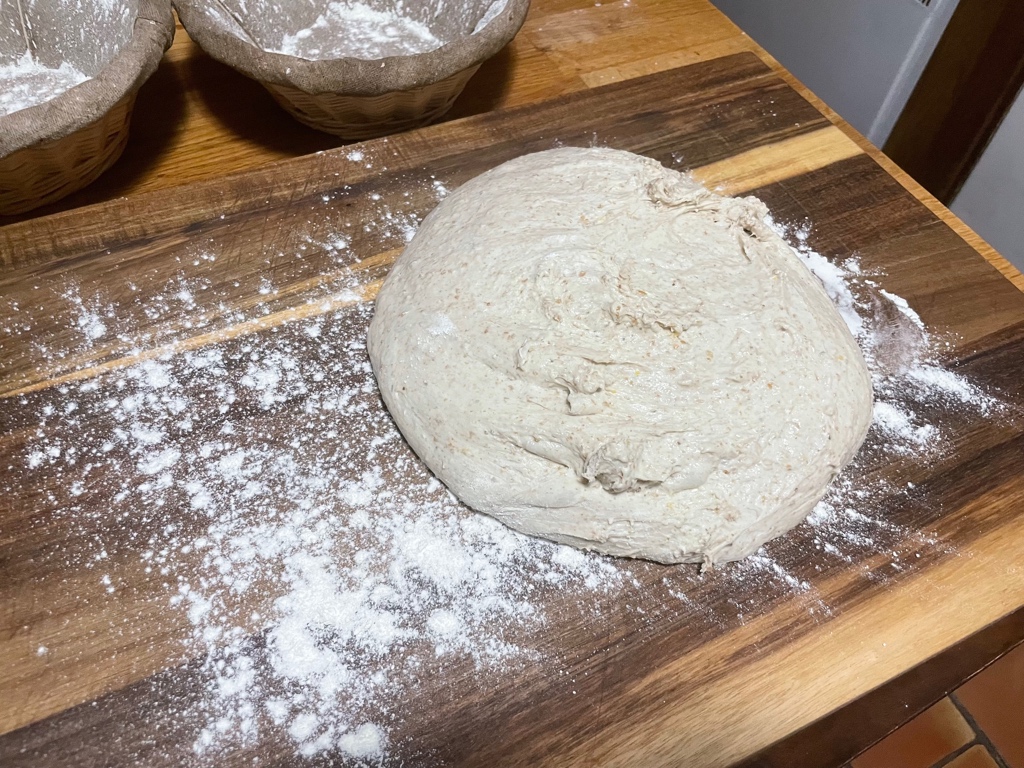
Divide the dough in half.
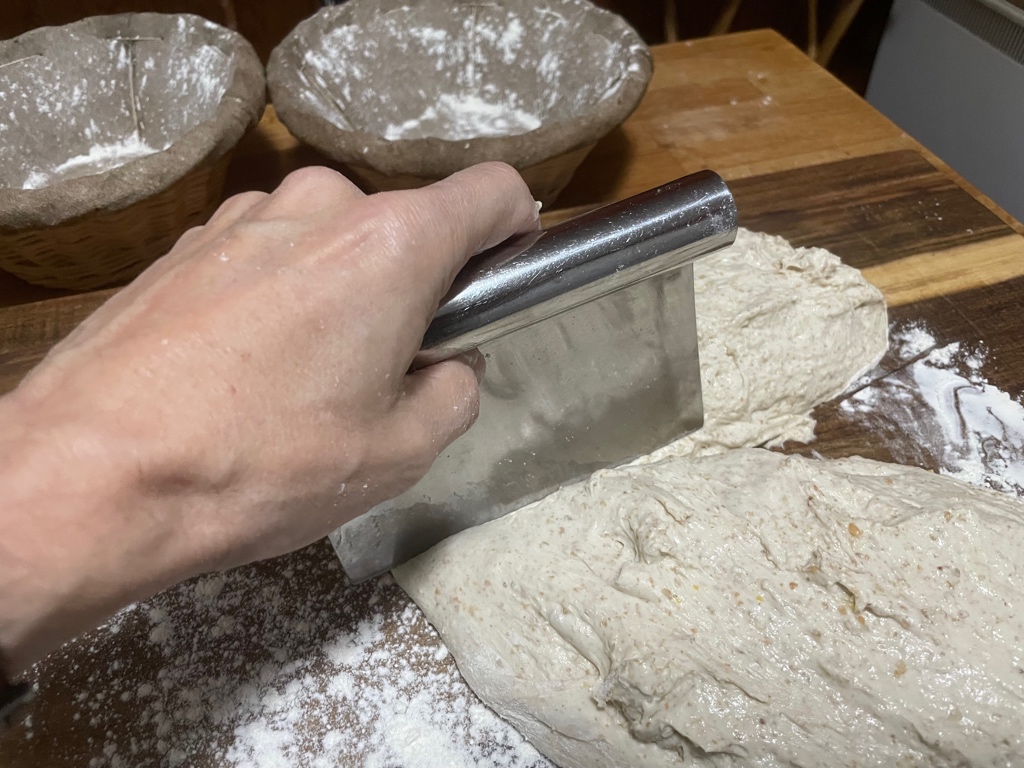
Flour the two dough pieces. Start by bringing the edges towards the center.
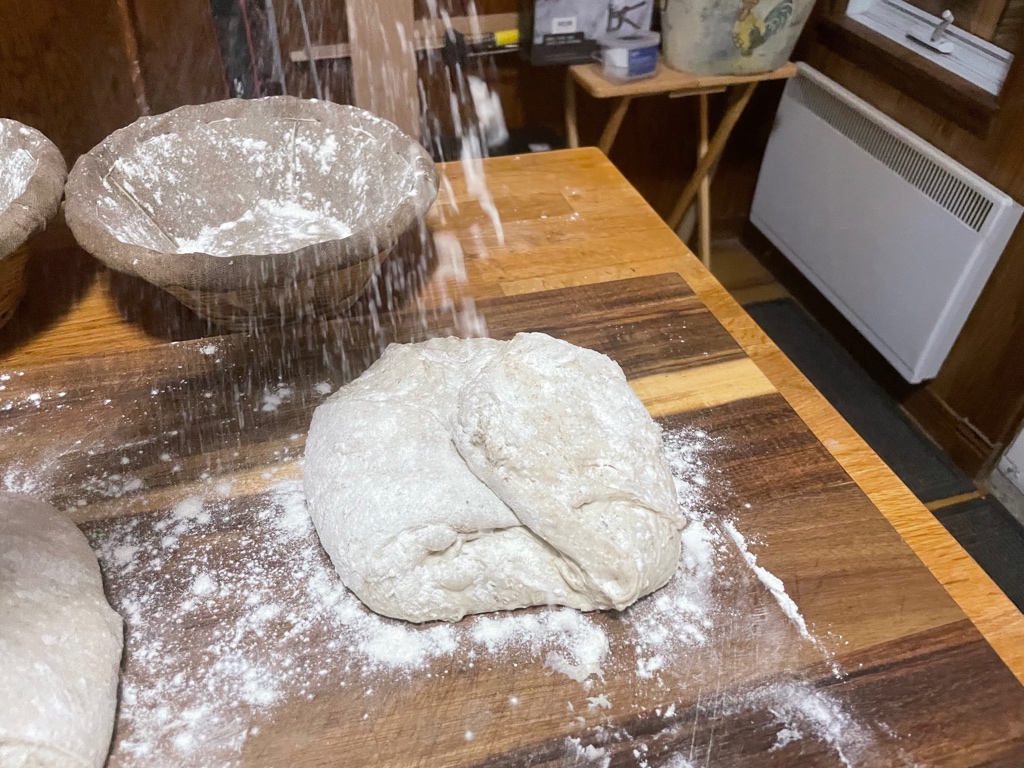
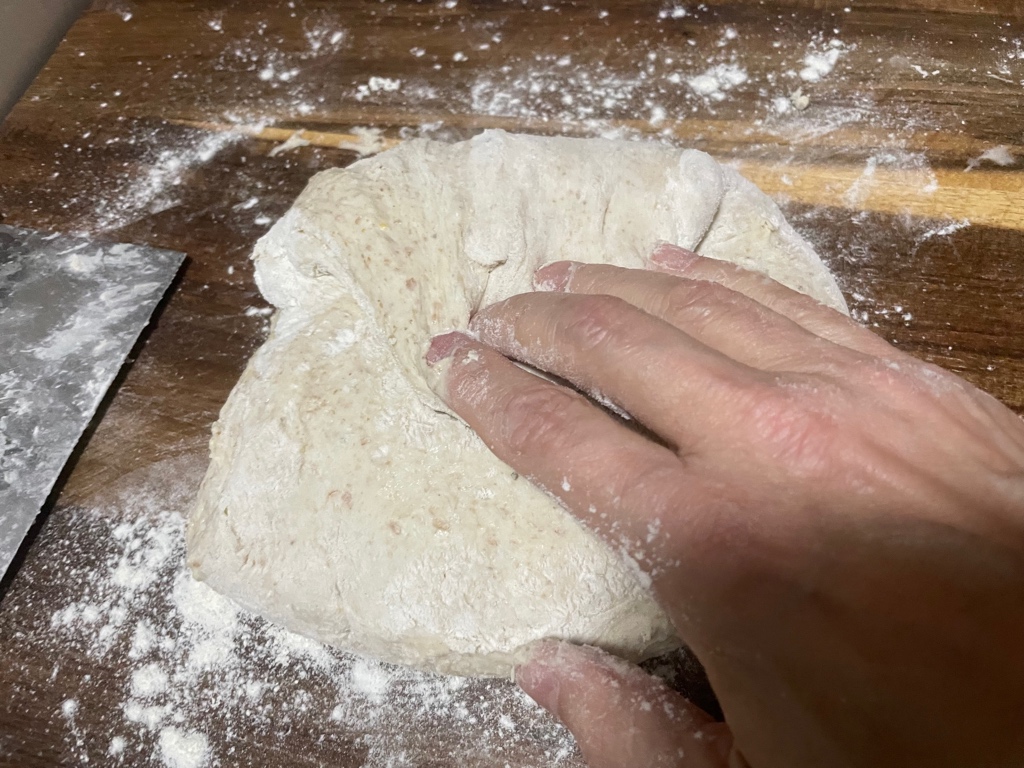
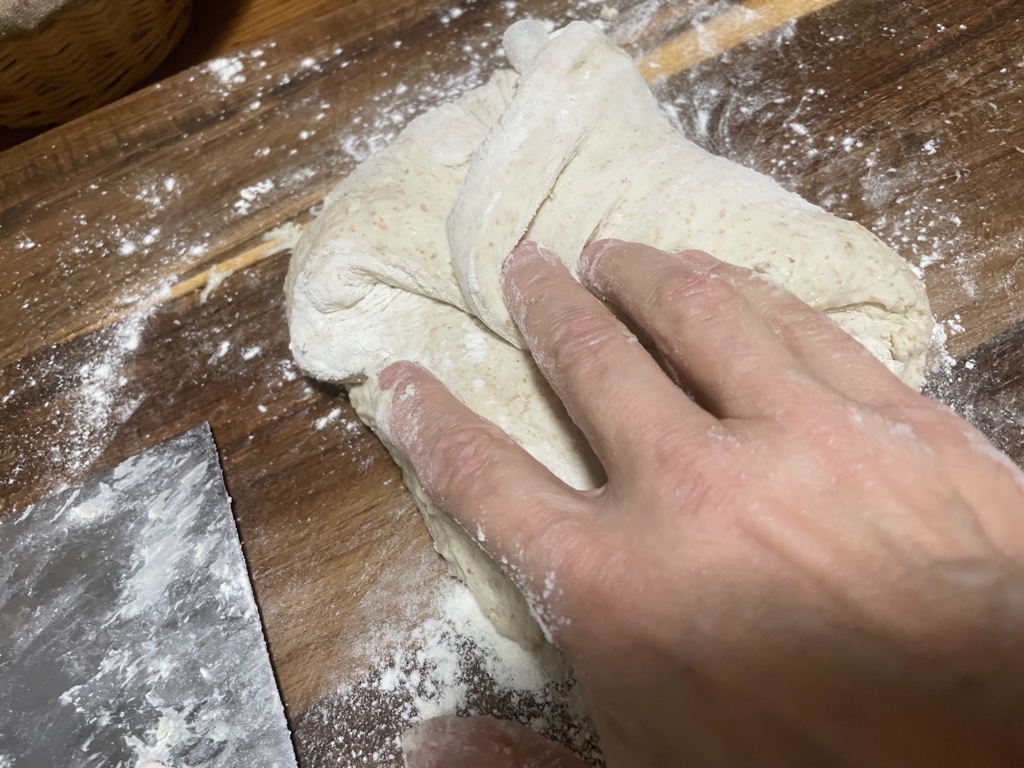
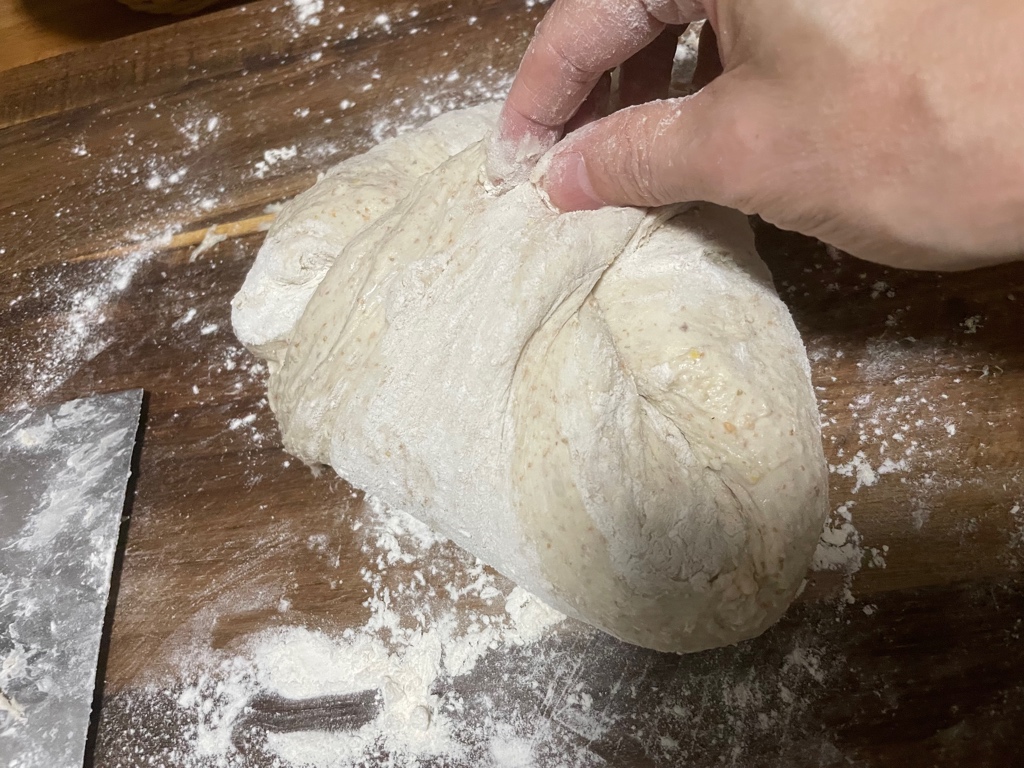
This will form a more or less uniform seam on the top. Turn the dough over. The seam will be on the underside.
With two hands on either side of the dough, form a ball by pushing the dough onto the underside (this will compress the seam). Turn the dough over and repeat the operation. You'll end up with a tighter, rounder dough.
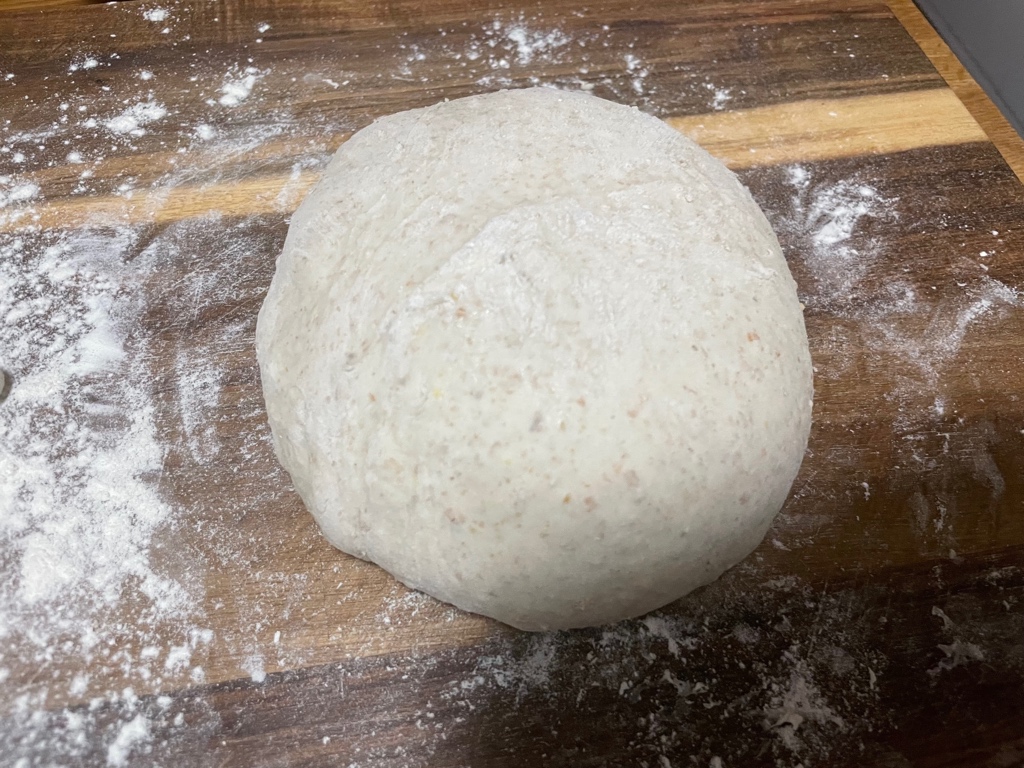
Place in the bannetons, seam side down.
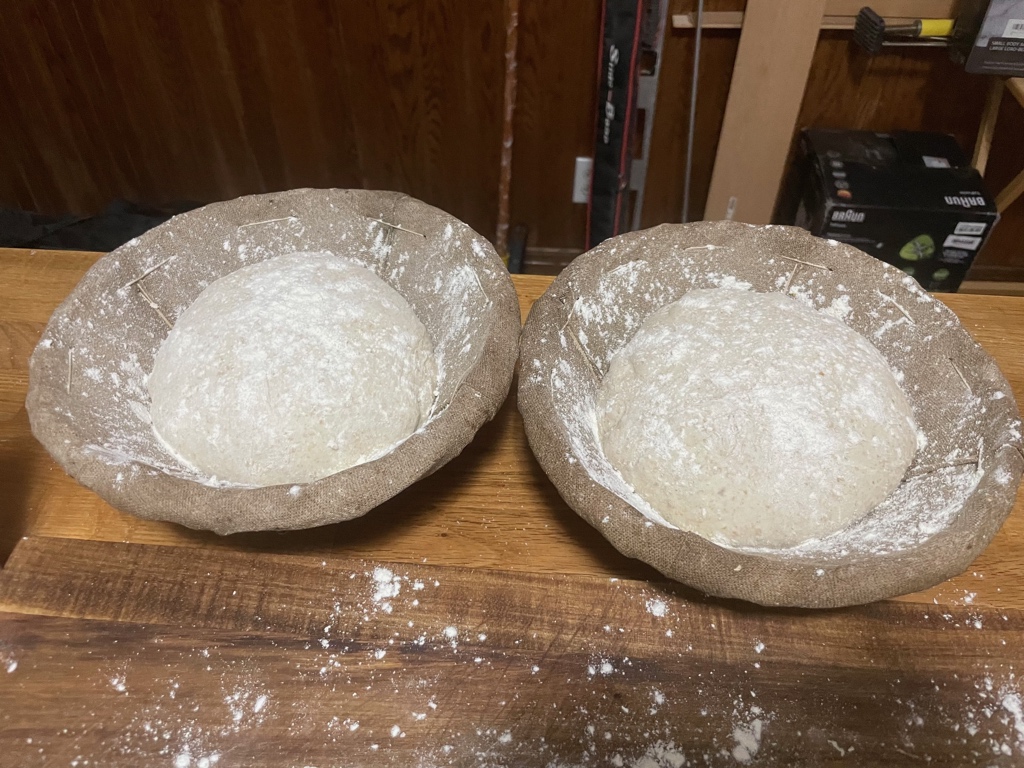
Cover with plastic wrap, then a cloth. Place in the fridge overnight.
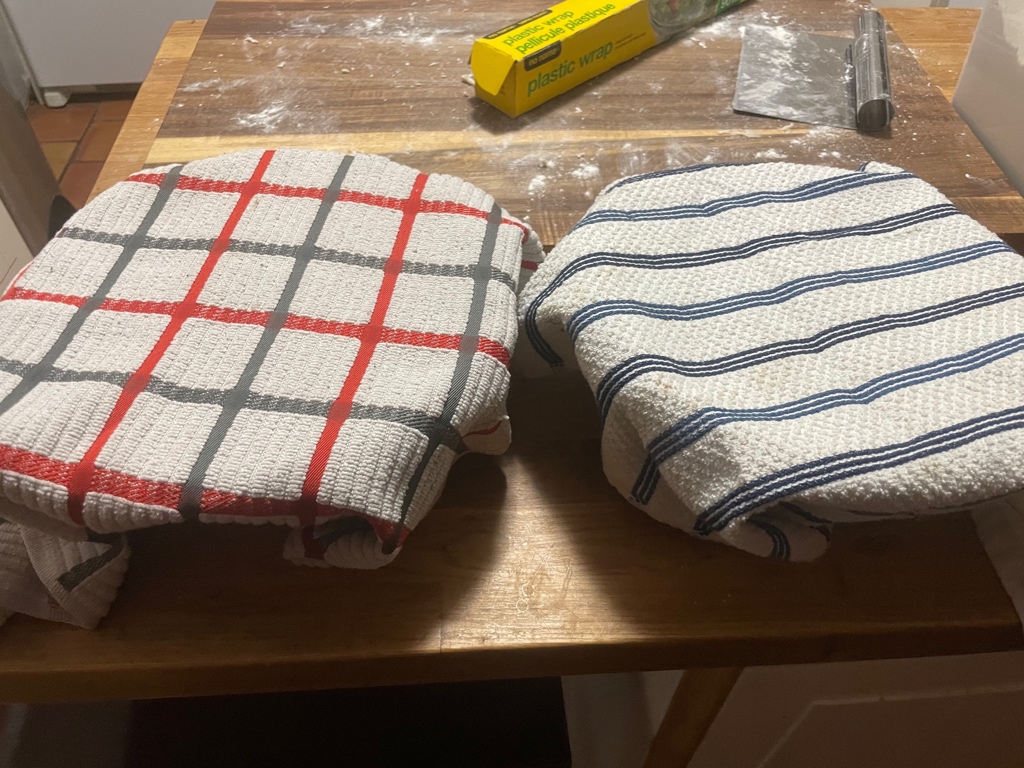
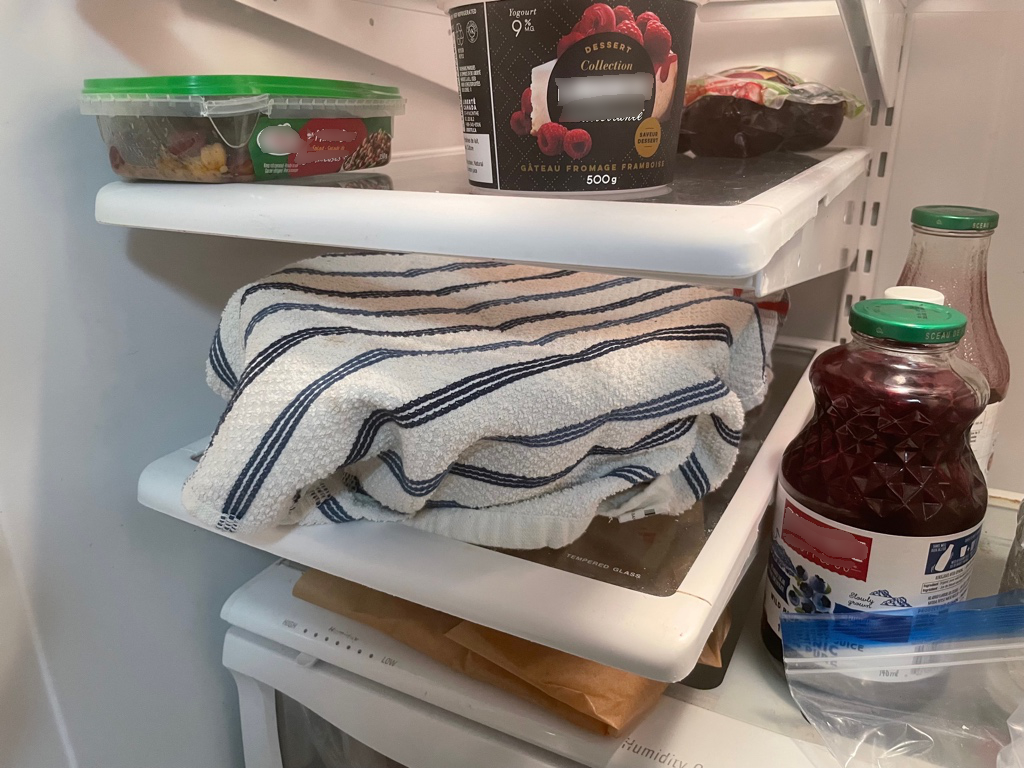
The next morning. Place your cloches in the oven and heat to 475ºF (250ºC). The cloches can be any Crucible-type pot with a lid. I find my cloches very practical. They're made of cast iron, which makes handling the bread much easier. Much less chance of getting burnt.
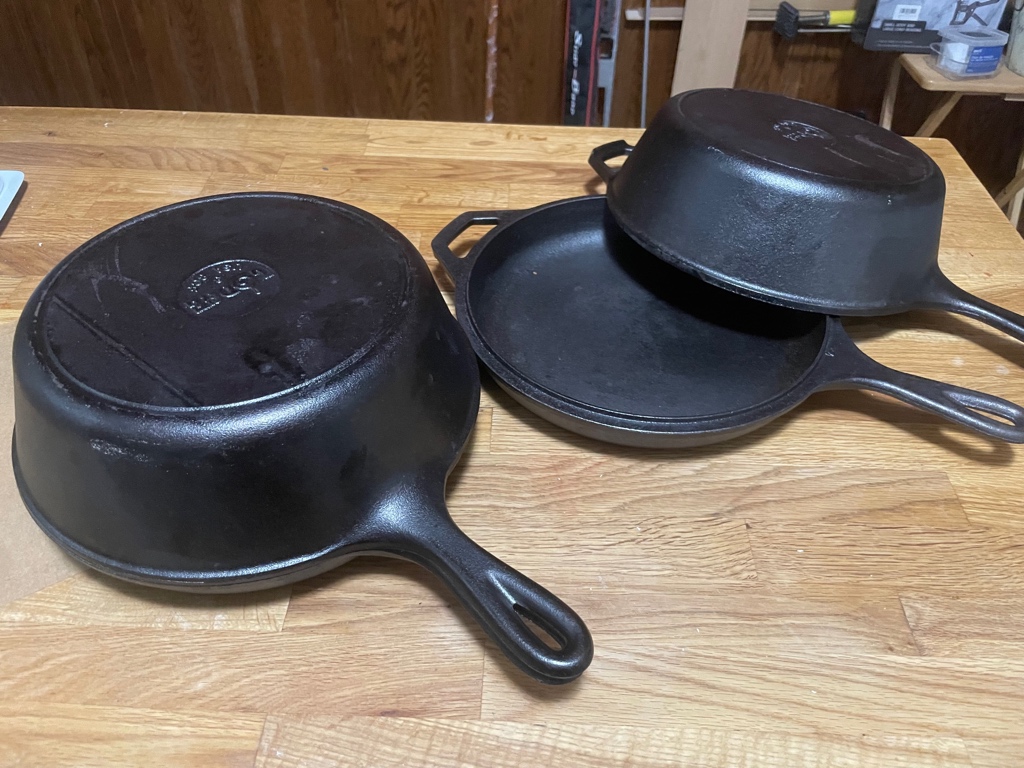
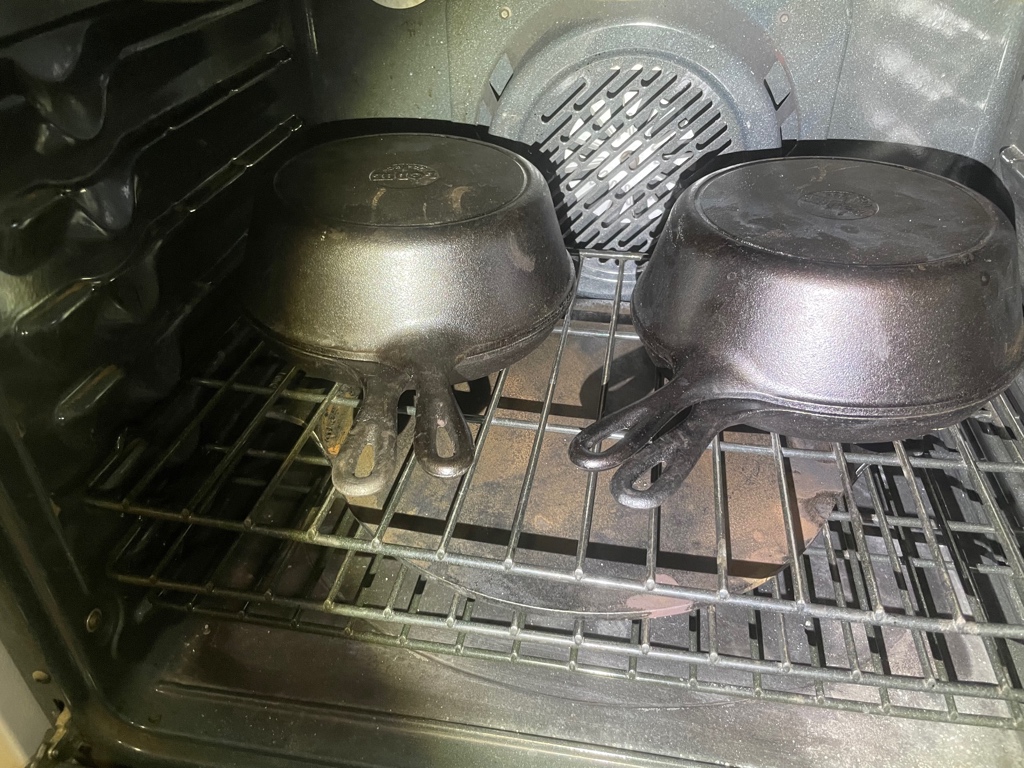
Meanwhile, prepare two sheets of parchment paper. The sheets should fit inside the bells.
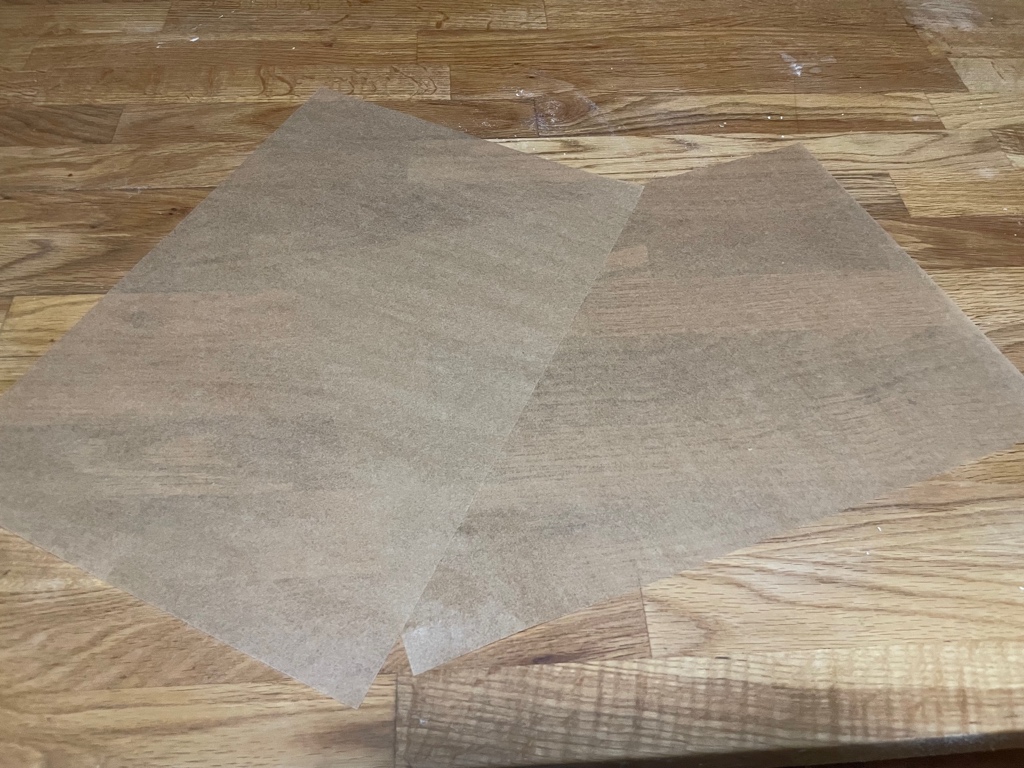
Wait 30 minutes after the oven has reached the desired temperature before continuing. Place a sheet of parchment paper on one of the dough pieces and invert onto your spatula.
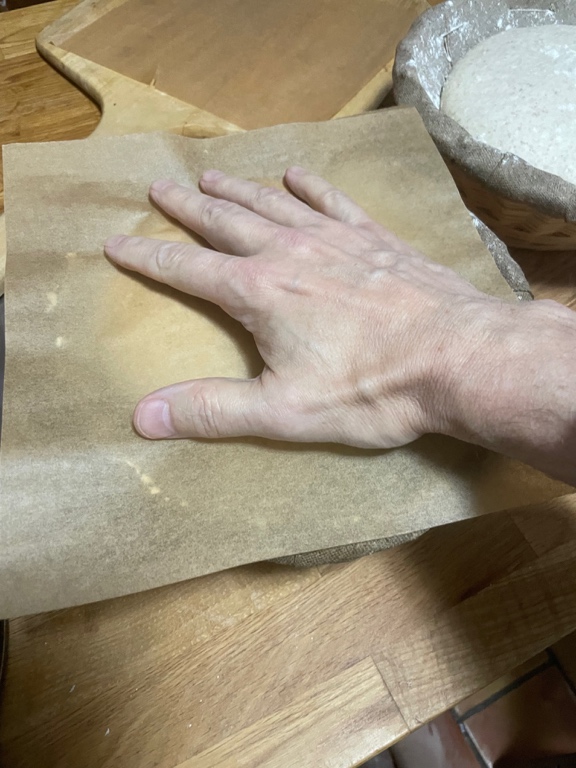
Yes, what used to be the seam becomes the top!
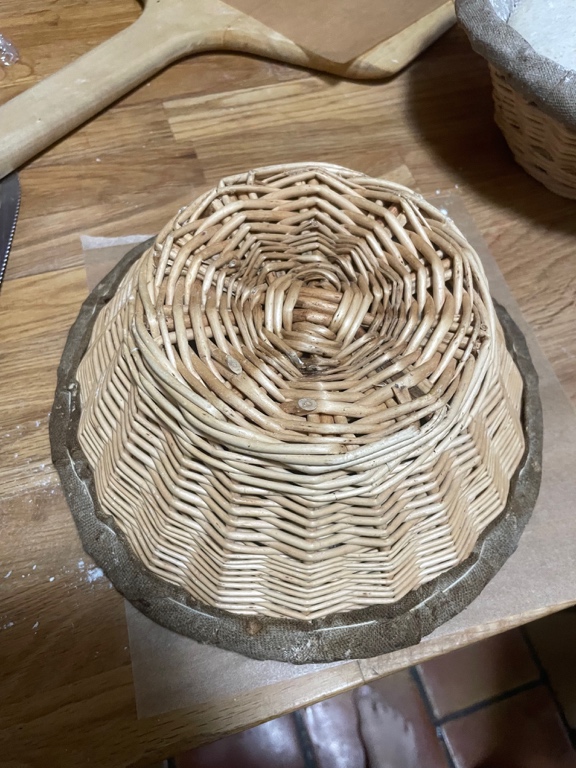
Remove the lids from the cloches. Then return to your loaves. Gently lift the banneton. Use one hand to loosen the dough if necessary. Take your time, but it should be easy. Quickly make an X with a serrated knife or blade and place in the oven. Do the same for the other loaf.
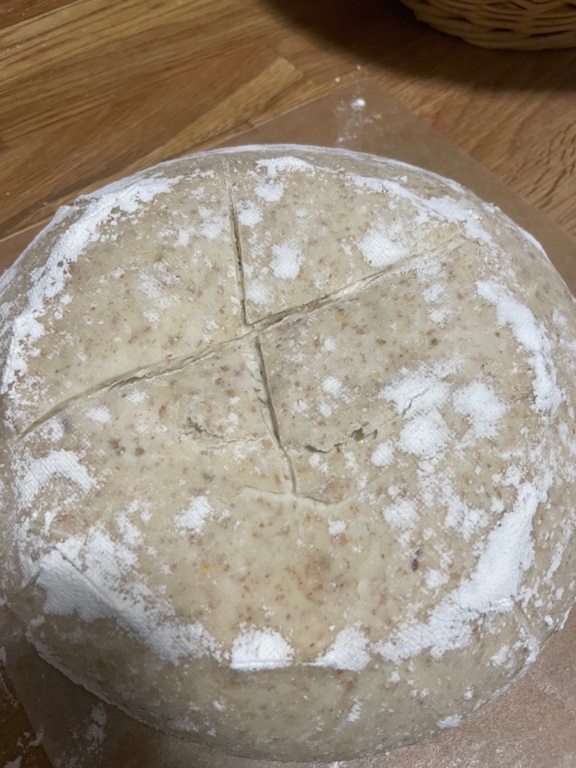
Put the lids back on and bake for 30 minutes.
Meanwhile, wash your bannetons. The fabric on mine is sewn onto the bannetons, but other types have covers that you can remove.

After 30 minutes, remove the lids. Your loaves should be puffed but pale. Bake for another 10 to 15 minutes. The author calls for another 20 minutes, but I find that the crust tends to blacken with my cast-iron buns. This is when the loaves will brown.
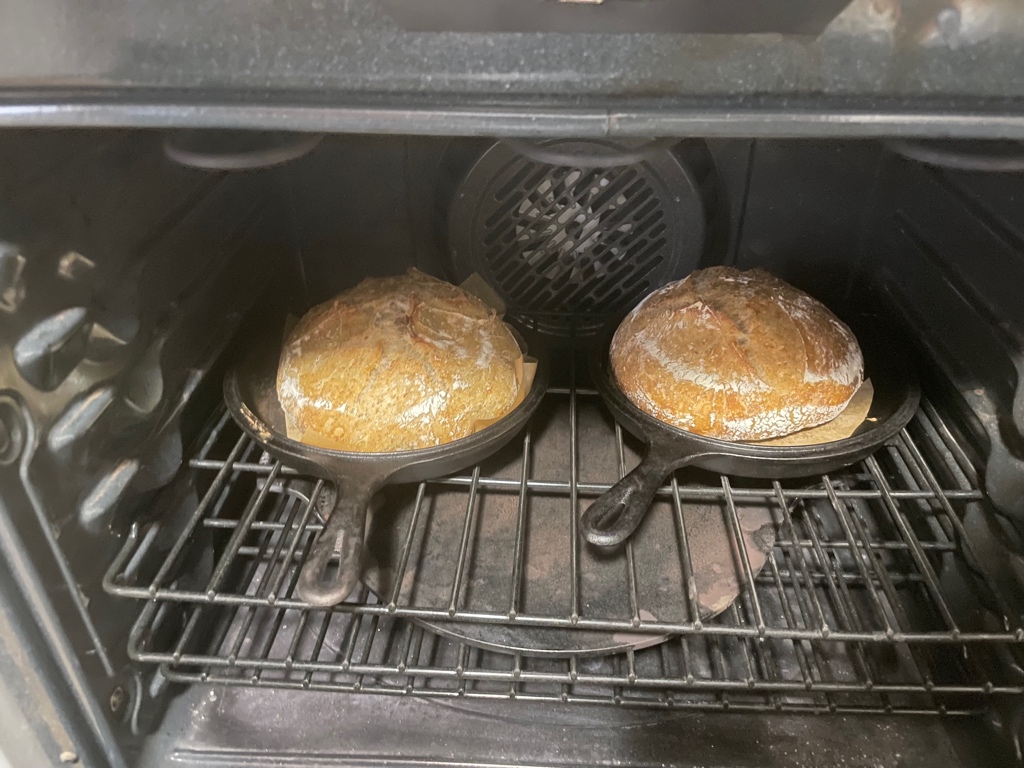
Voilà!
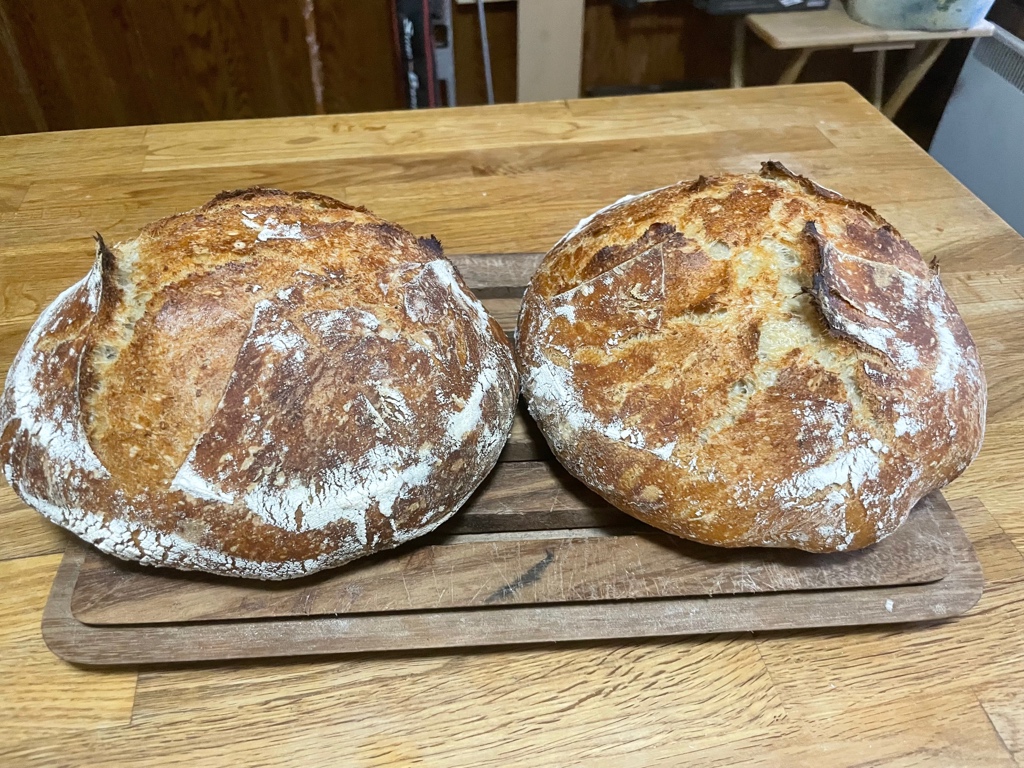
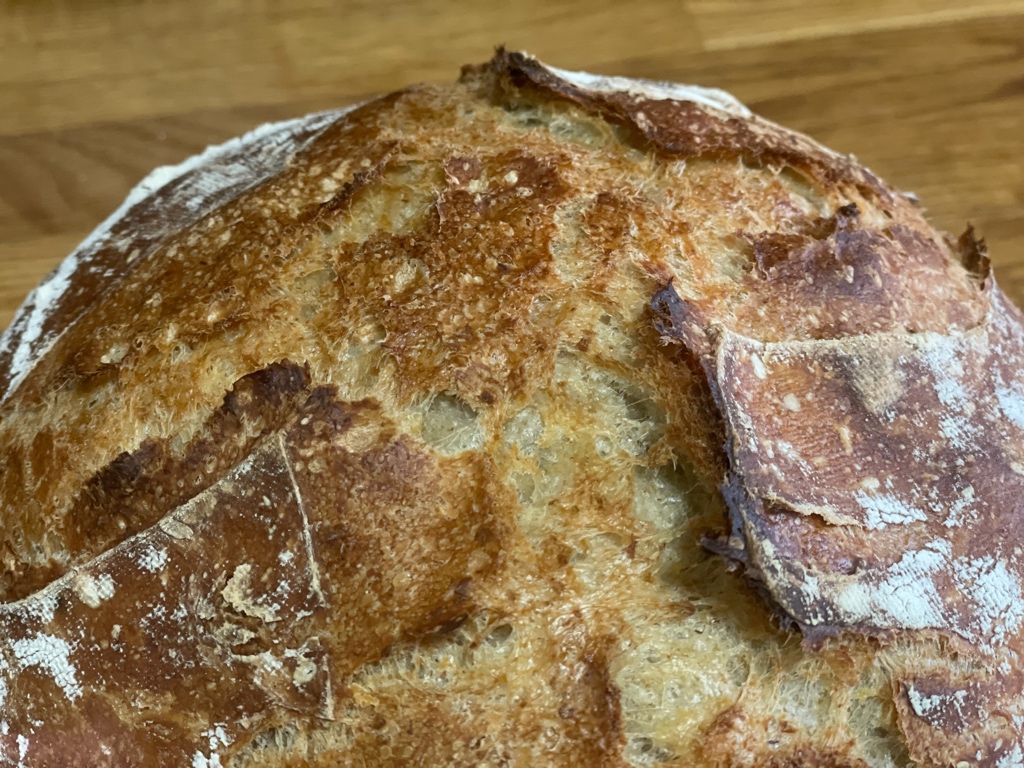
Leave to cool. For my part, I slice one of the loaves and place it in freezer bags, as there are only two of us eating it.
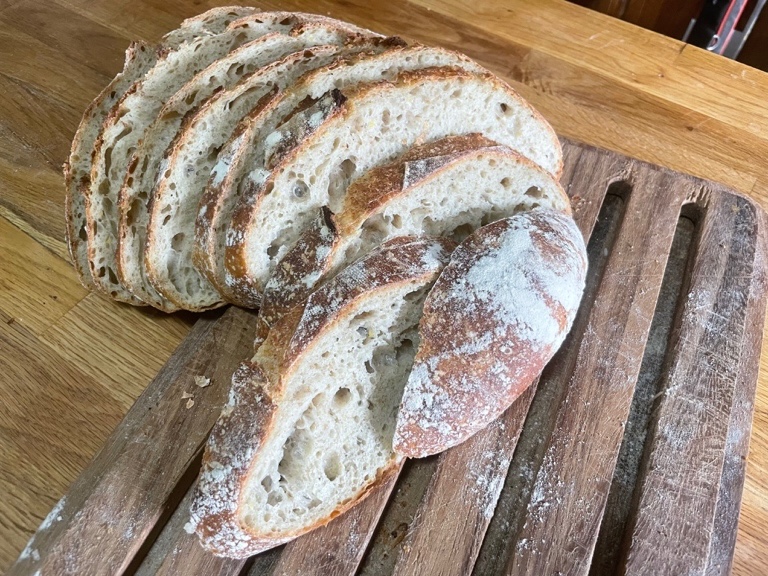
Bread should last a week in a dedicated bread storage area. Reusable bags are also available on the market.
This bread is excellent for toasting. You'll quickly get good results. The secret of this bread lies in its 72-80% moisture content. Forkish's book offers a few variations on this figure. Reading his book will tell you about many other aspects of bread baking. Other authors will suggest all sorts of ratios.
I've made sourdough bread for a long time, but I consider that, for humble home use, instant yeast is more than sufficient. Sourdough bread keeps longer, can have a richer taste. It's worth exploring!